Almost a “closed loop” worm farm

On October 26th and 27th I attended my 3rd Vermiculture Conference which was actually the 18th annual Conference hosted by Rhonda Sherman at NCSU in Raleigh, NC.

While there one of the speakers introduced me to a new term…Closed Loop.  This term refers to a system in which some or all of its output is used as its input.

What a lot of people don’t know about me is that I also raise meat rabbits for our consumption and also I breed for a couple of snake owners as another source of local fresh food for their snakes.  The rabbits manure is fed to the worms and any excess is added to my garden spot and raised beds.  I cut grass and weeds to help with feed costs with the rabbits

I collect a small amount of used coffee grounds from an outside source and sometimes I collect cardboard.  But I mostly use items from around the house for the worms… delivery boxes, kitchen waste, leaves, yard waste (very aged grass), chipped up tree limbs.

I am almost a closed loop worm farm !!

Wood chips and more….

I am slow to embracing “new stuff” but when I ran across a ad on Facebook I had to explore it and learn more.. as I thought this would be “to good to be true”.

I am talking about a service called ChipDrop… you sign up and create an account and specify what you want.. I wanted wood chips and didn’t care if it had leafy material included… I specified that any wood chips will work EXCEPT for walnut (yes I am a picky worm farmer,lol)

I will be able to add a lot of this to my garden spot (working towards that “no till” area) and also mix this with mulched leaves to be used as worm food.

Anyway if you are interested here is the link to sign up  https://getchipdrop.com/

Also, here is a couple of picture of what I received…. FREE


How to use Worm Castings

dirtHow to use worm castings

Seedlings: Use up to 20 percent worm castings in your potting mix. More than 20 percent will not harm plants, but it won’t offer much additional benefit.

Vegetables and annuals: Side dress with about ½ cup of worm castings per plant as needed.

Transplants: Provide 1 inch of worm castings in planting hole before placing plant.

Potted plants: Mix 1 inch of worm castings with top of soil around base of plants as needed.

Trees and shrubs: Mix 1 inch of worm castings with top of soil around base of plants every month during growing season.

Different types of worm bins

If you are interested in vermicomposting I am here to tell you that YOU don’t have to have the fanciest or the most expensive system just to compost your kitchen scraps.

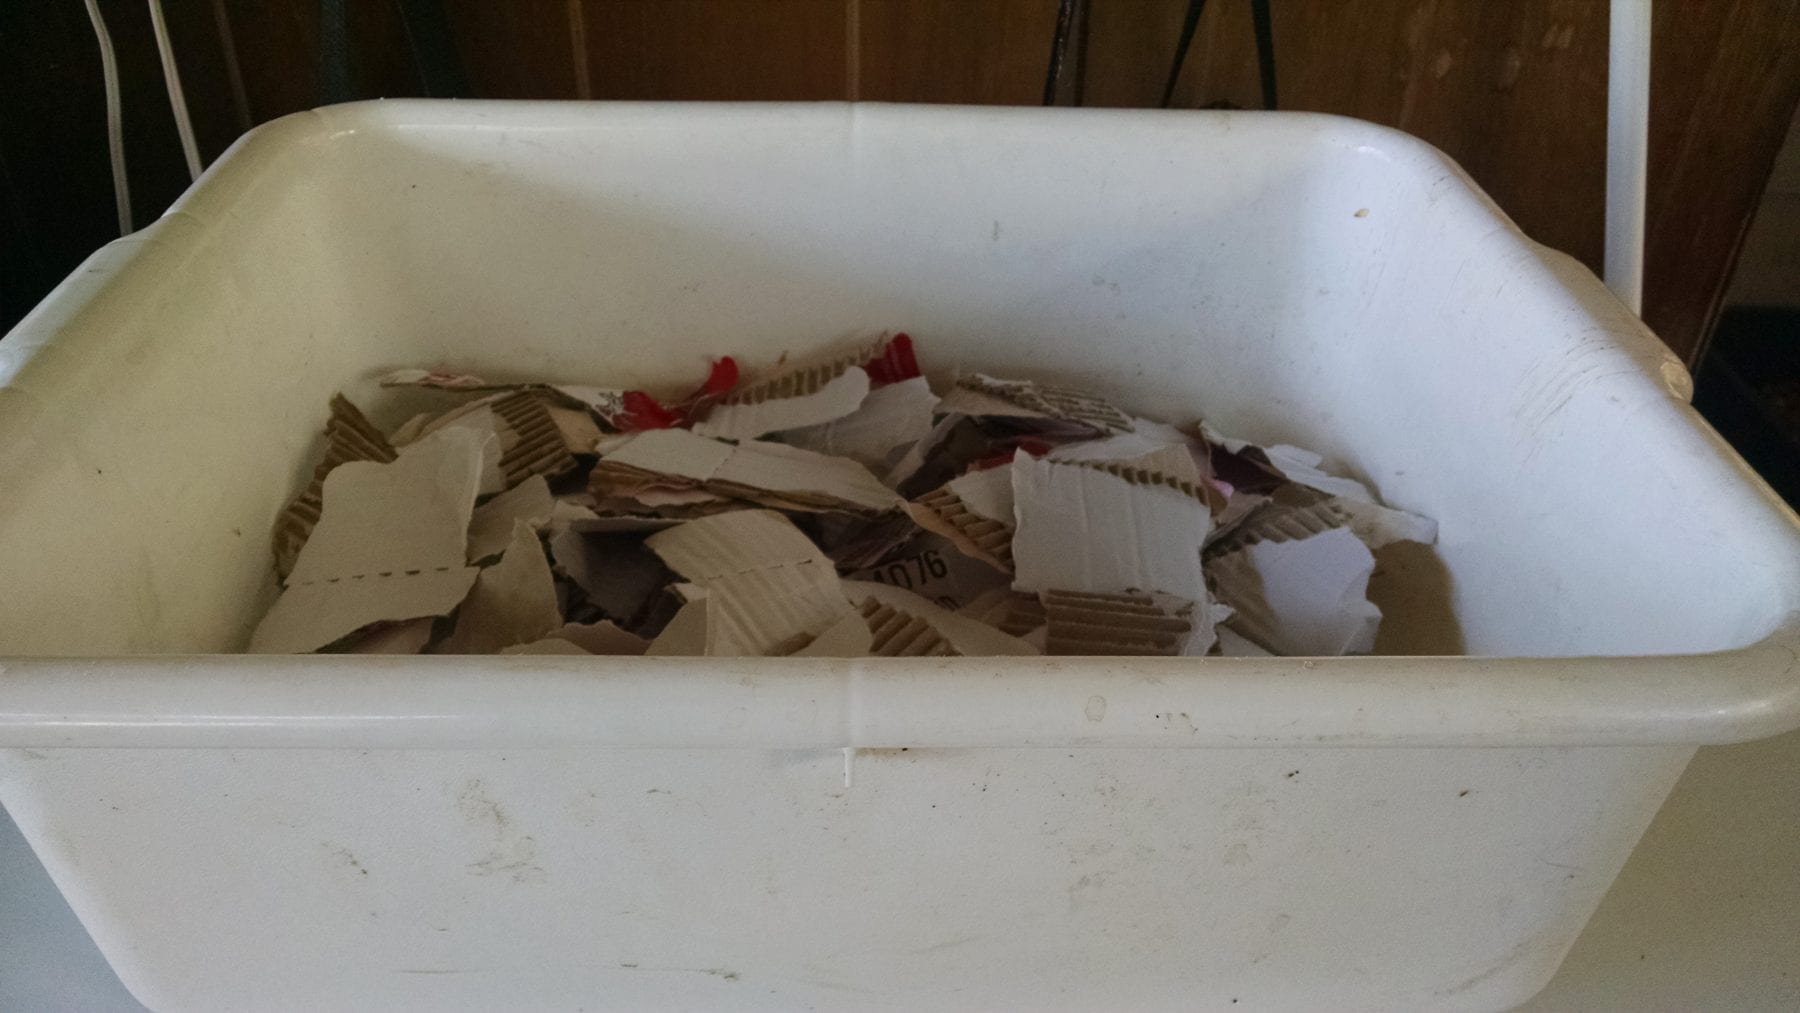
When I started out all I used was a 10 gallon rubbermaid tote.

Just like this one 

You can even use a 5 gallon bucket 

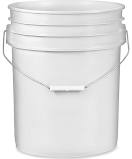
I set one of these up every spring just to show people you can use a non-drilled bucket, just leave the top off and don’t put any extra wet materials in it.  When bucket gets close to being a third full, setup a new bucket with food and bedding and scoop the top third out and place in the new bucket.  Voila! Castings for your plants  that you created!

Once you get the hang of it then you can advance to something bigger and I recommend the VermBin series of plans (you can order your own set on my Home Page).  These are continuous flow through bins (CFT’s).  Add food and bedding to the top and harvest worm free castings from the bottom.

Pictured here is the VB24 (red one) and the VB48

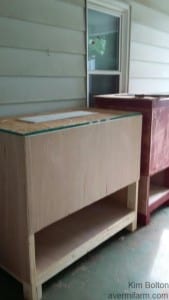
The VB24 is the perfect size for a small family up to 4 people.  It has a small footprint of only  2 feet by 2 feet.

If there are more than 4 people in your household then I would recommend the VB48 (2 feet by 4 feet).

Each of these bins can sit  outside as long as they are in a semi protected area.  I keep mine on my porch.  A garage, carport or even a basement is a good location for these.

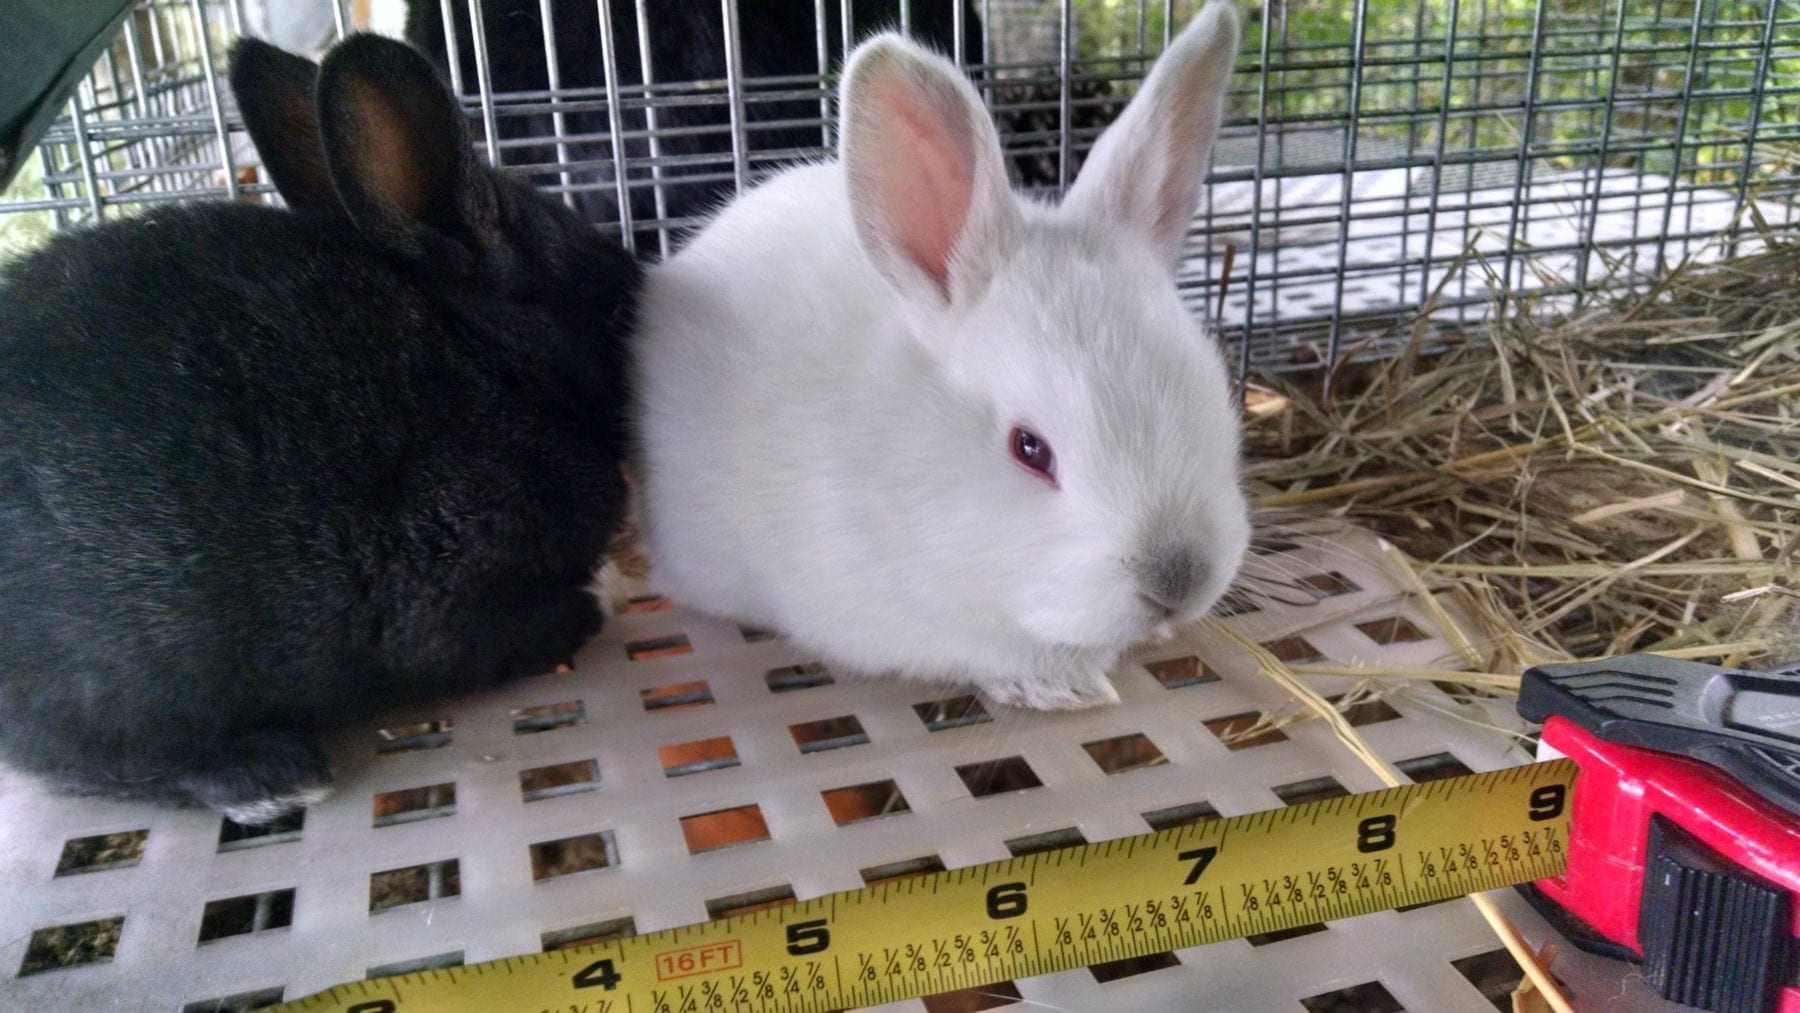
Are you a small farm?  Horses, pigs, alpacas, cows and rabbits produce some great material (poop) to cycle through a bigger type system.  Unless you just have a few animals.  NO dog, cat or human feces allowed!!

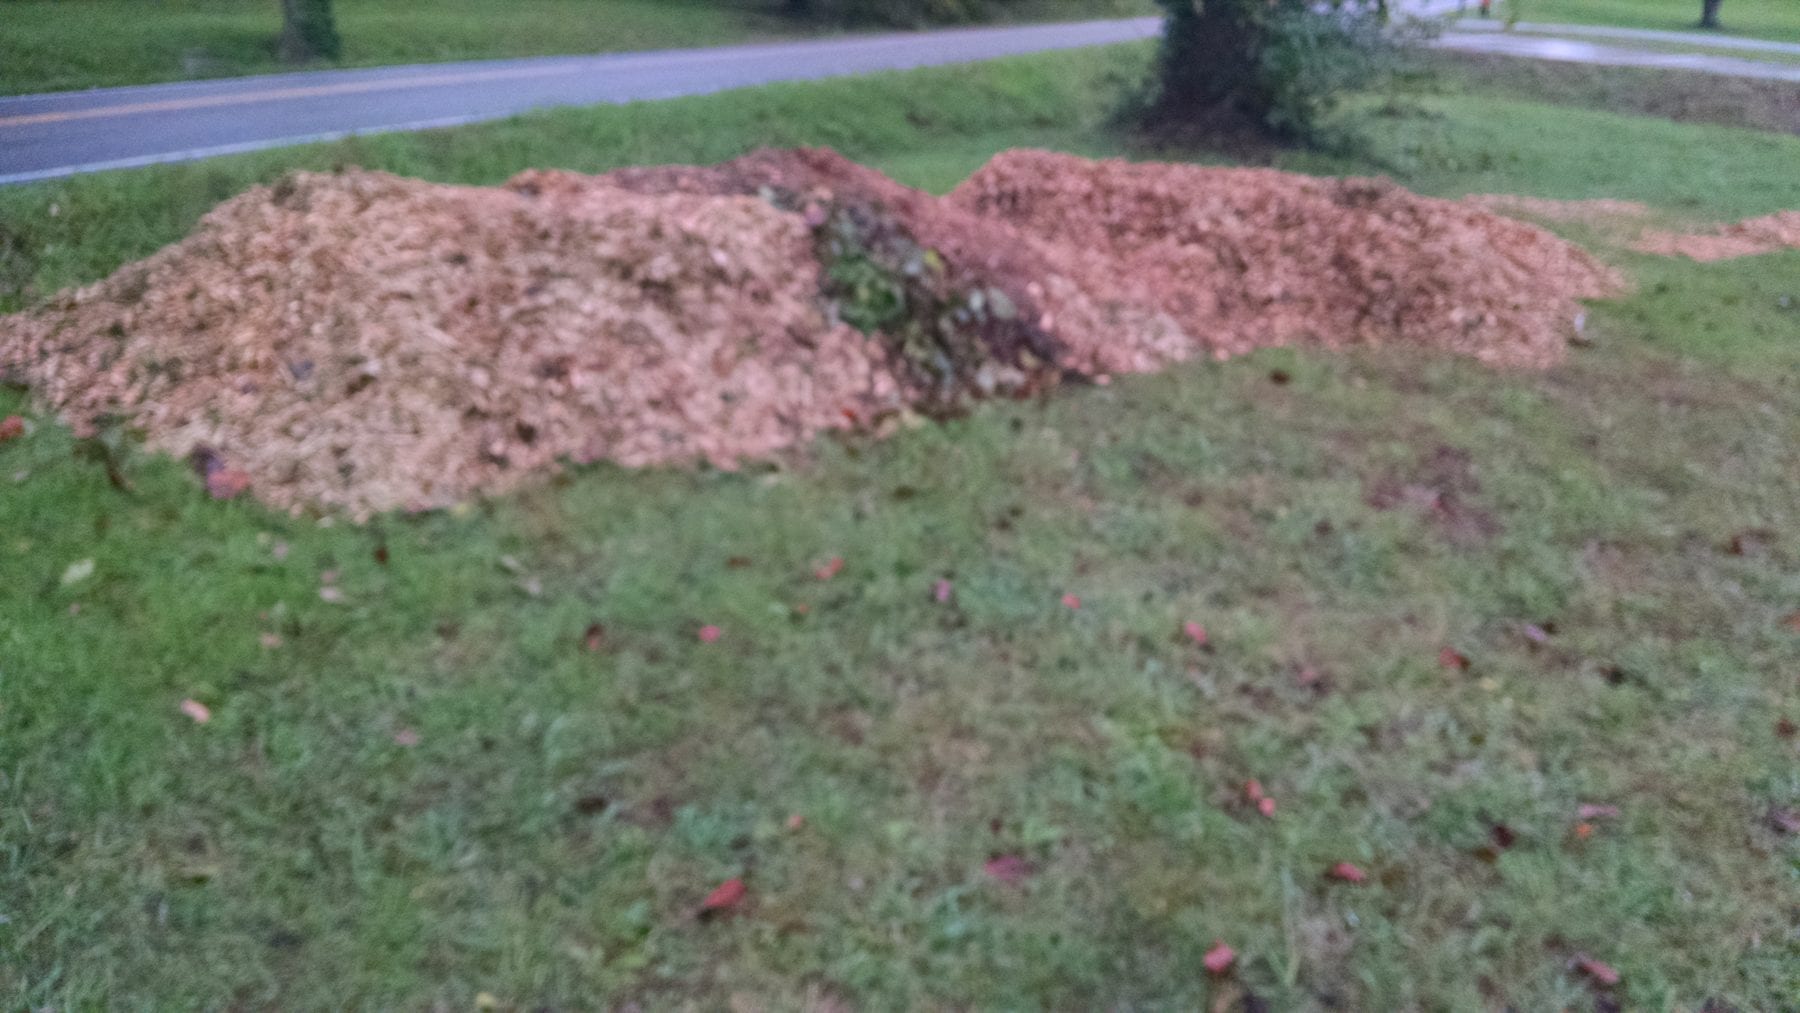
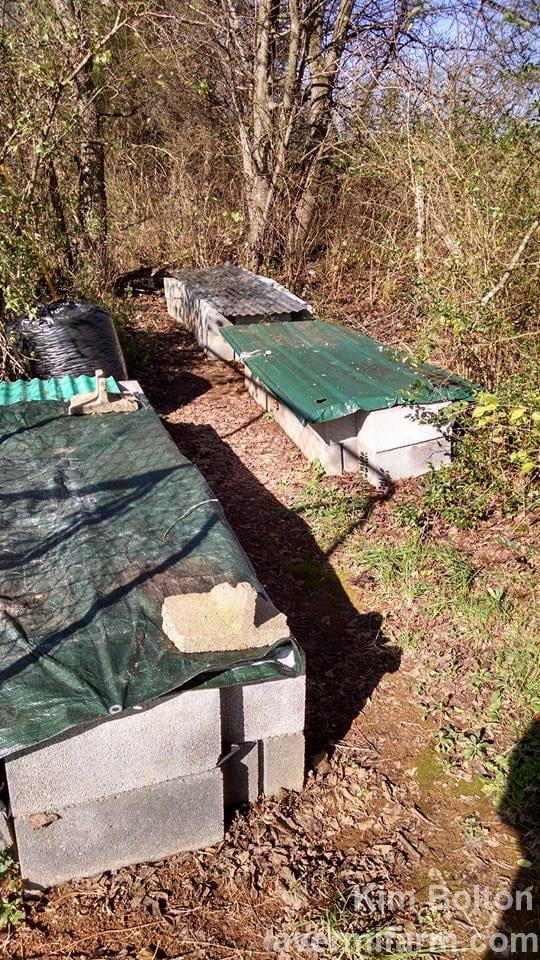
You can build a cinder block bed to process lots of material similar to these.

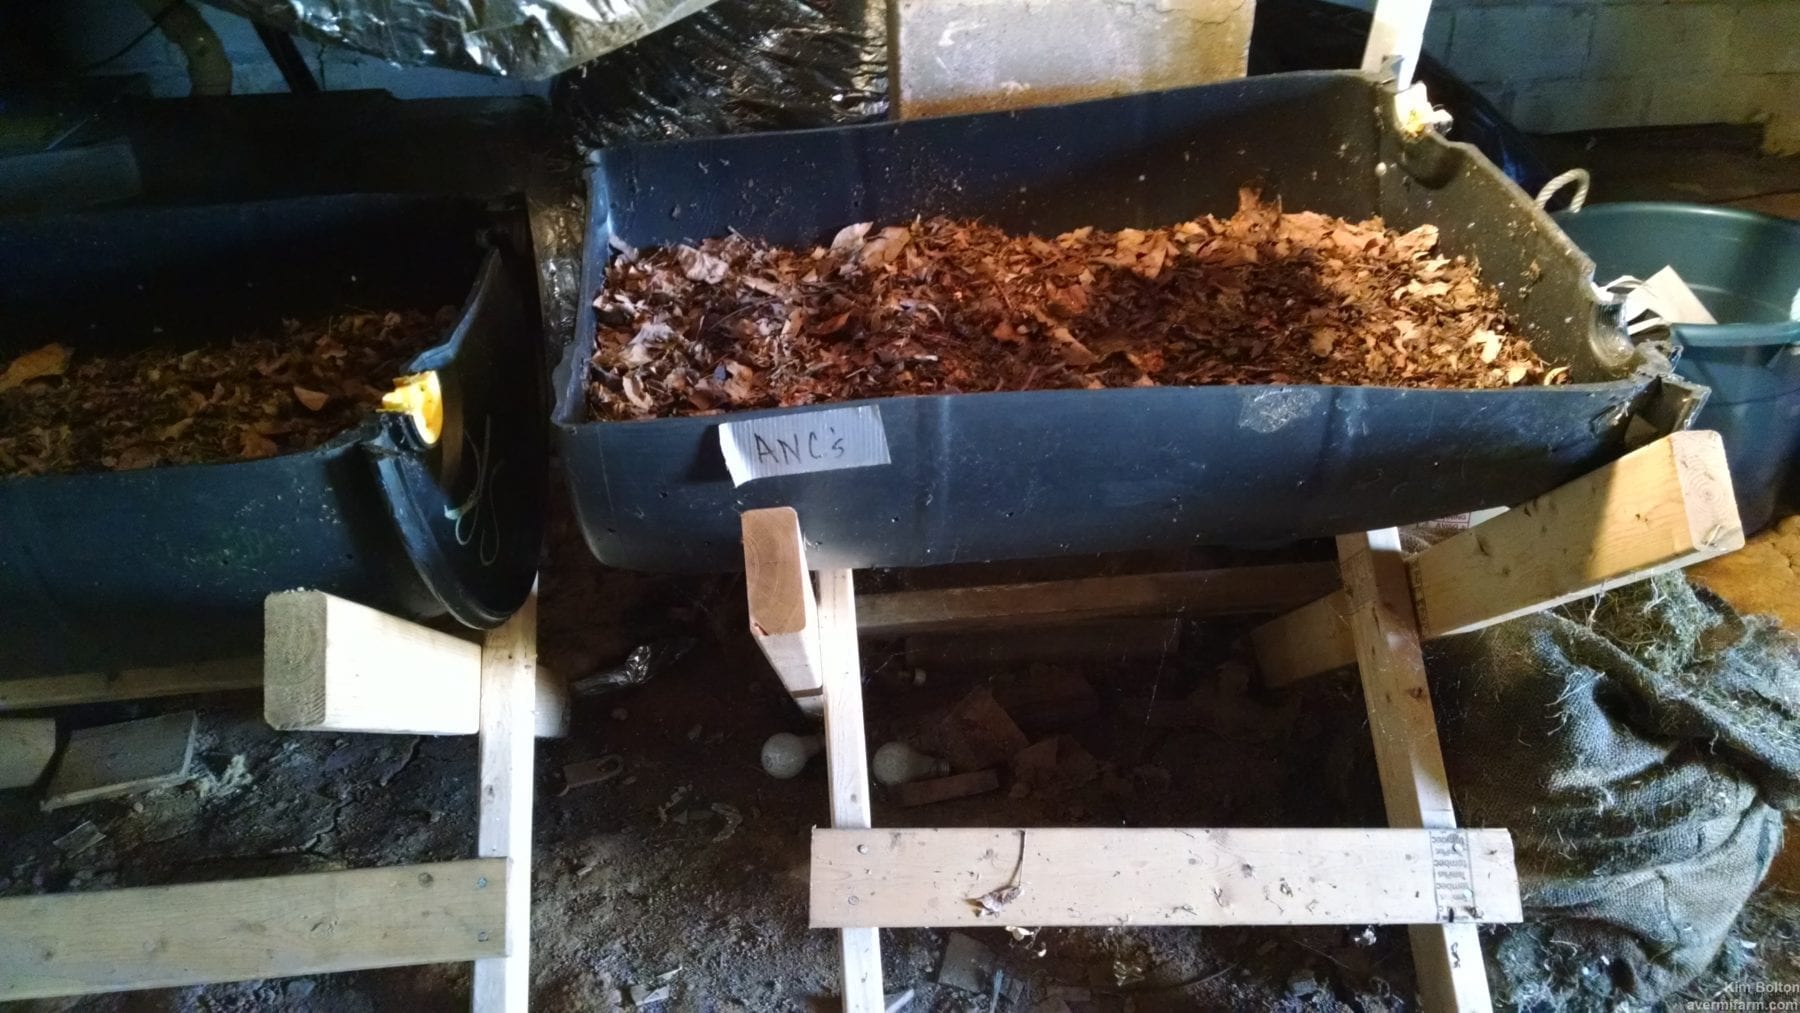
I have even converted 55 gallon food grade barrels into worm bins.

You can build a frame around them like this

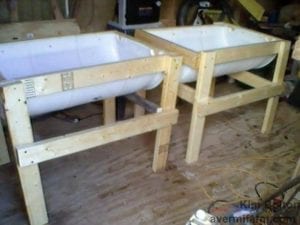
Or even build a X -frame to hold them like this

No matter what system you decide to start with I will help you get started.  All you have to do is have the desire to recycle, reduce and reuse.  Together we can all do our part to limit what goes in the landfills.  The one thing humans cannot create is more land!!  We all need to do our part to help our planet.

How to harvest castings from a tote style bin

How to harvest your castings from a tote style bin


After you have fed your worm bin for 4 to 6 months (standard in a 10 to 20 gallon tote)  you will notice all this nice dark “soil” in the bottom.  This is the castings (worm poop) that the worms have created for you to use as their thanks for taking care of them.  You will want to harvest before the contents turn anaerobic (a wet stinky mess) on you.  If your bin is ready to harvest and the bottom is very wet line the sides of your tote with dry cardboard sheets, replace when wet, do this until the castings will form a nice loose ball when cupped.

*NOTE…this is for personal use only for the castings.  Retail sales involves a different method and/or equipment in harvesting.

I have used the following three methods in harvesting my tote bins before I changed over to using bigger beds and commercial type CFT’s (continuous flow through) bins.  Each one is dependent on how much time you want to spend harvesting the castings.

  1. Simple Transfer is to take the top third of your bin and place that in a newly prepared bin OR set this to the side to add back to the original bin after you have removed the castings. In doing this you will be adding back some of the beneficial microbes from your bin to help the worms adjust to the new bedding.


  1. Light Harvest Method involves placing the entire bins content on a flat surface under a light in a pile. Some do it as a cone or volcano shape to start with.  Scrape a layer off  until you see worms and then stop, the worms will dive down to escape the light.  Do this every 15 to 30 minutes until you have just a pile of worms.  DO NOT DO this in direct sunlight as the UV rays will harm/kill the microbes.  Indirect light works just as well or under a overhead light also.  *NOTE  The entire bin must be finished (no visible food or bedding particles) to do this unless you have a sifter to remove those particles first.


  1. Migration Method takes longer but is effective as well but you can’t use this method if your bin is a small tote OR is completely full. When the bin contents have been worked well and you can’t recognize any bedding or food pieces then push the entire contents into one end of the bin.  Add new bedding and food in the opposite corner and mix in a couple of handfuls of the finished section.  This process will take up to  3 weeks to complete.  If you want to make sure all the worms migrated over do the light harvest method on the remaining pile.

Why have a worm bin?

flow through bins1
Having your own worm bin will help you to reduce the amount of garbage going into a landfill and also enable you to have some beautiful microbially enriched soil amendment for your garden or flowers.

There are many different types of worm bins. You can make your own from just about anything to start out with. A 5 gallon bucket will work just to see if you like worm farming, of course if using a 5 gallon bucket you will not need as many worms to start with. If you start small and see that you are enjoying taking care of your “herd” then by all means go bigger. Maybe your test will show you that this hobby is not for you. But, you will never know until you try.

The picture to the right shows two continuous flow through type bins (CFT). With these bins you feed on the top and harvest castings from the bottom. Usually there are no worms in the finished castings from the bottom.

What I feed my worms

I am asked this question a lot so here is a list of the different things I add to my worm bins:

In no particular order:

Rabbit manure

Shredded cardboard

Mulched leaves

Pulverized eggshells

Chipped/mulched tree limbs

Comfrey leaves

Select fruit and veggie scraps

Used coffee grounds

Used tea bags

Shredded newspaper (very little)

Azomite powder

Granite dust

Old shredded bills or financial information

Truth about worm castings

I have known for several years the truth about how powerful worm castings are in starting new seeds and also seeing the phenomenal growth in our garden each year.  The crop yields are also amazing!

Here is a new story (for me) on just how well castings work.  Our new next door neighbor was removing a beautiful forsythia bush that my husband and I have admired for 10 years.  I couldn’t resist…. so off I go and introduce myself and then ask for a couple of cuttings, he said take all I want.  I only wanted two as that would be plenty for me to see if they would come back.  Each section only had about two inches of root knot(?).

We dug two holes and in the bottom of each hole I added almost 2 cups of rough screened vermicompost (worm castings) then placed the plant in the hole.  Next I added about 3 cups of bagged topsoil then another cup of castings on top of that.  We then finished filling in with the clay/dirt mixture from the dug hole.

For the next 6 weeks I then brewed worm castings tea.  Two times I used molasses and granite rock dust as additives and one week with no additives.  I watered these cuttings with the brewed tea and let mother nature take care of the rest of the watering.

Here are pictures showing one of the “sticks” we planted and the new growth showing.  Both are doing great!!  I have never planted anything like this and had this great of success.  Vermicompost aka worm castings are so much better than man made chemicals hands down for me!

As always just “Ditch the chemicals and give your plants some love” they will love it and so will you!!

new growth2new growthplant4

Used coffee grounds (UCG)

Do used have a small worm bin and too many used coffee grounds?

You can dry them out and store them for use at a later date in your worm bin or in your garden in the spring.

I have a couple of large square plastic trays but you can use any container like a dishpan, cookie sheet or even an extra rubber maid tote.

Place several layers (3 or more) in the bottom of your container of choice and then spread the used coffee grounds (UCG) on top and set to the side.  On sunny (non windy) days place in the sunshine or if you are not in a hurry place in the shade and stir around once or twice.  You can recycle the used newspaper in your worm bin.

ucg1

I dry mine outside as they can be quite stinky!

After they are dry you can store them in almost anything.  I use an old sandbag as I leave mine outside until I need them in the early spring.ucg2


Supercharged food

One of the ways that I prepare food scraps for feeding my VermBins (VB’s).  If you have a rubber maid tote bin you can do this but do it on a smaller size or else you will over feed.  Preparing it this way I can “clean” out my freezer as almost all of this was freezer burnt food.

I call it “supercharged food” because: a)  food has been frozen and will break down faster because freezing food breaks down the food wall structure and helps it to decompose faster…. and b) this allows bacteria to start forming on the food which allows the worms to start eating faster….also c) no chopping or dicing needed as you can leave the chunks bigger.

  1. Find a container to put torn up cardboard (CB) scraps in. op1op2  as you can see these are fairly big chunks.  This is two pizza boxes, so don’t fret about a little bit of dried cheese, grease, etc.  Believe me the worms will still devour them.
  2. Next place frozen food still in the bags on top.  op3
  3. Cover with a old towel or t-shirt
  4. Let sit for up to 3 days.  Where you have it will determine how long it needs to set.
  5. Once thawed, empty all the bags on top of the CB.  You will notice that the CB has soaked up some liquid. Using a  fork, spoon or a garden trowel you can mix it all up together.  At this point I will add crushed eggshells to the mixture and even some coffee grounds.
  6. Add the mixture to your worm bin and cover with dry shredded leaves, newspaper or cardboard. ALWAYS cover your food scraps especially if your bin is inside your house.

Happy Worm Farming !!