Step by step picture tutorial in setting up my Urban Worm Bag (UWB) with one of my Worm Starter Mixes (WSM). I will add new pictures and status updates as it progresses. UWB started on 5/6/2018
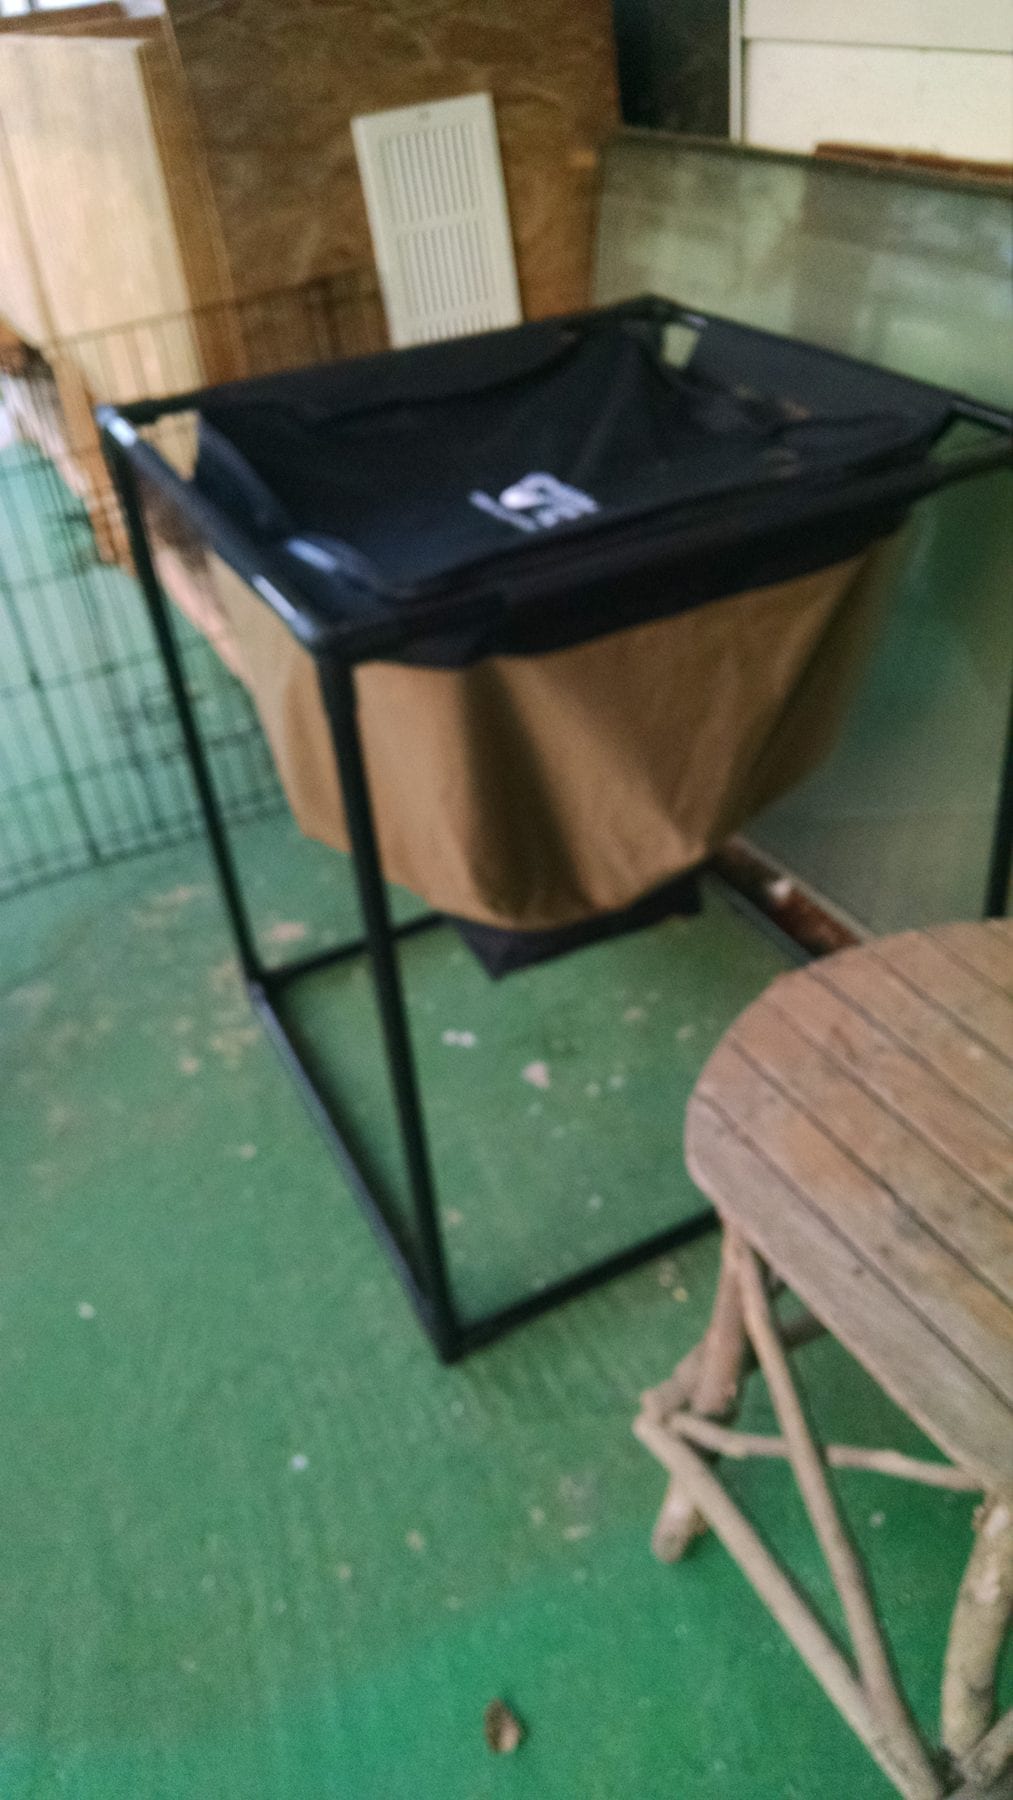
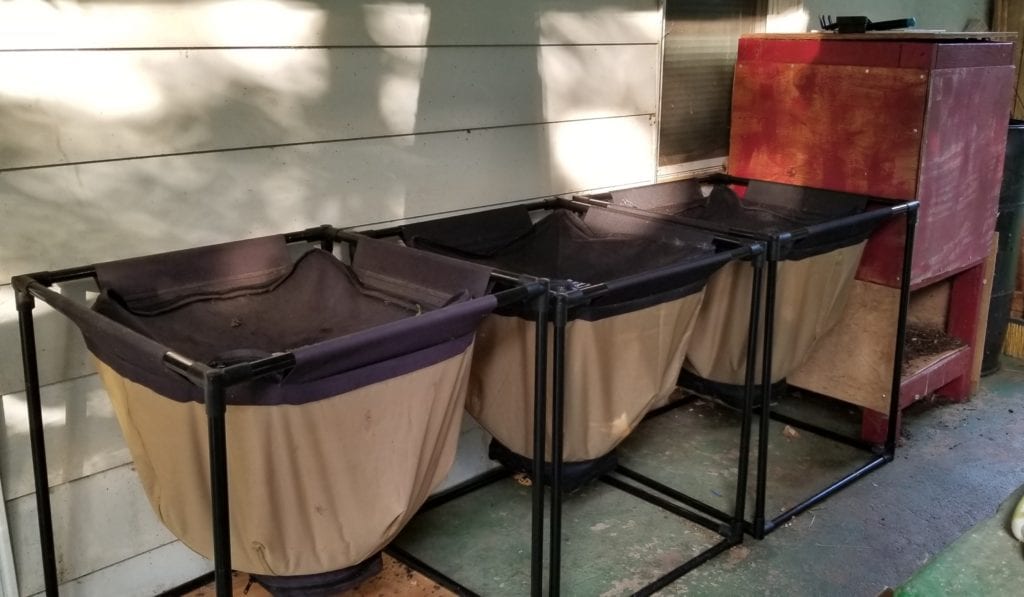
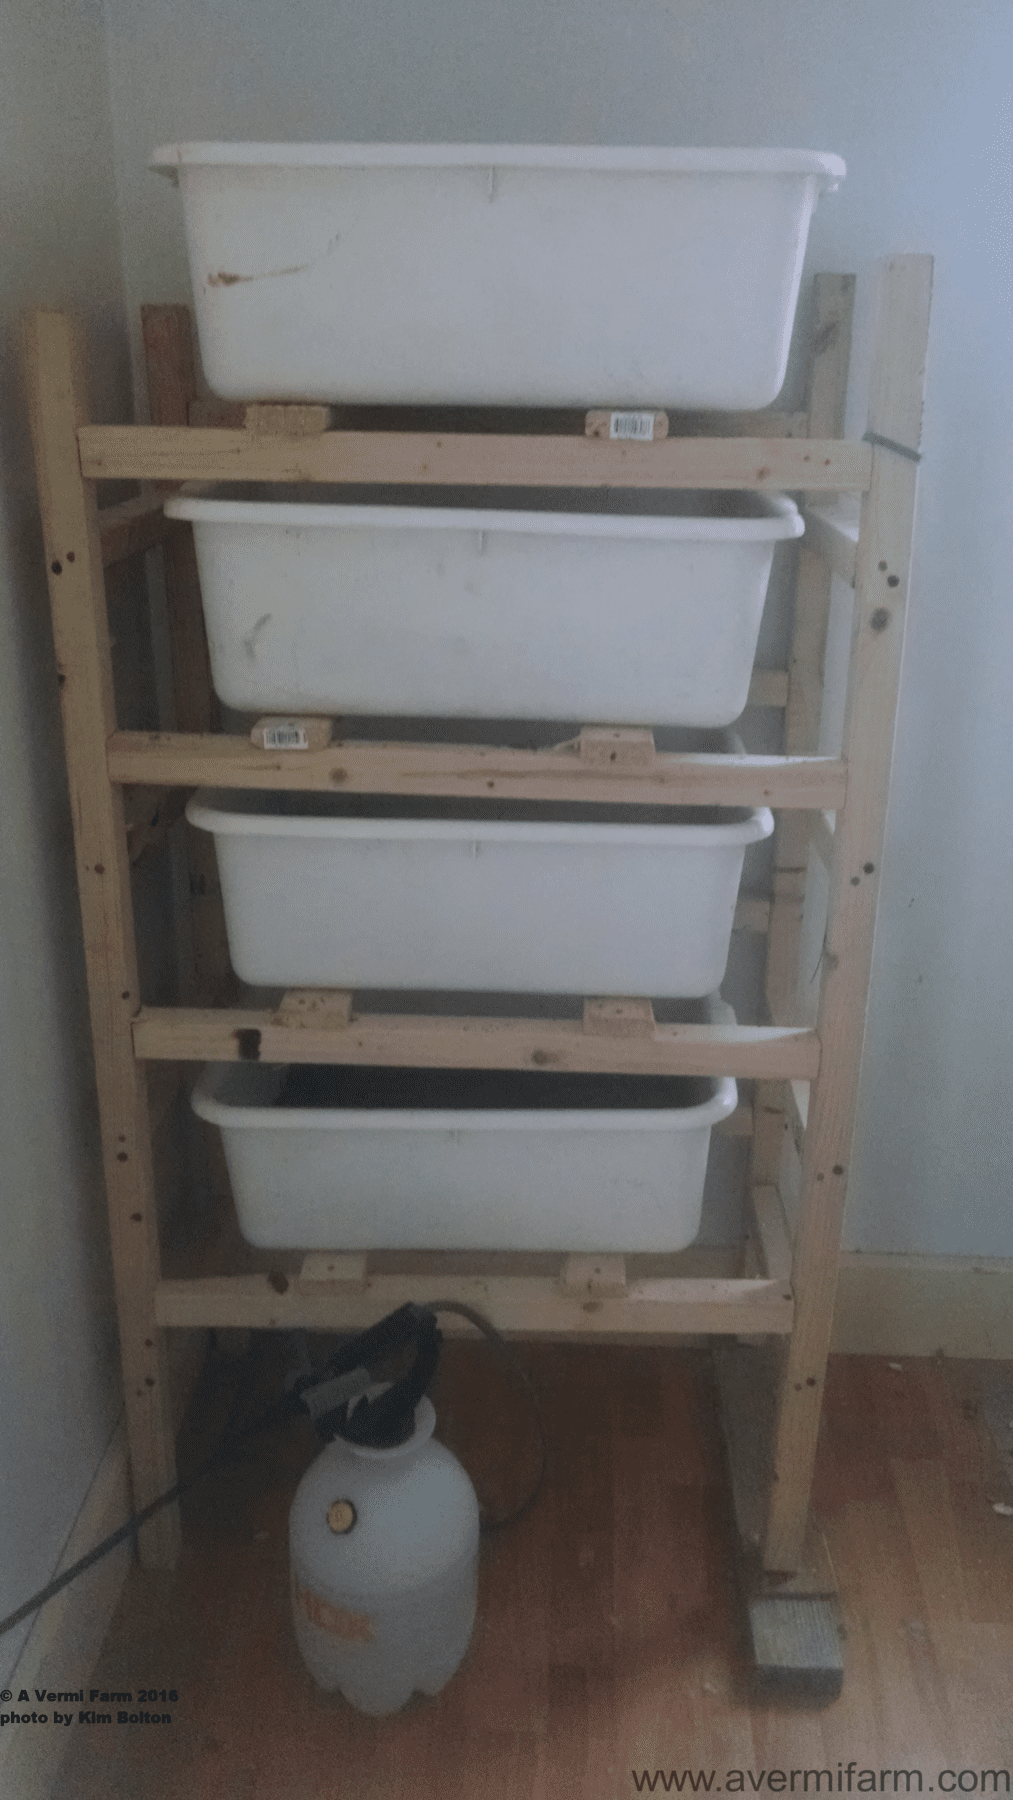
I first found a place to put the UWB on the front porch beside 2 of the VermBin48’s. There is a base that will be attached to it with wheels so I can bring it inside during the winter.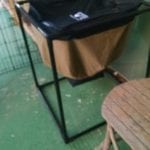
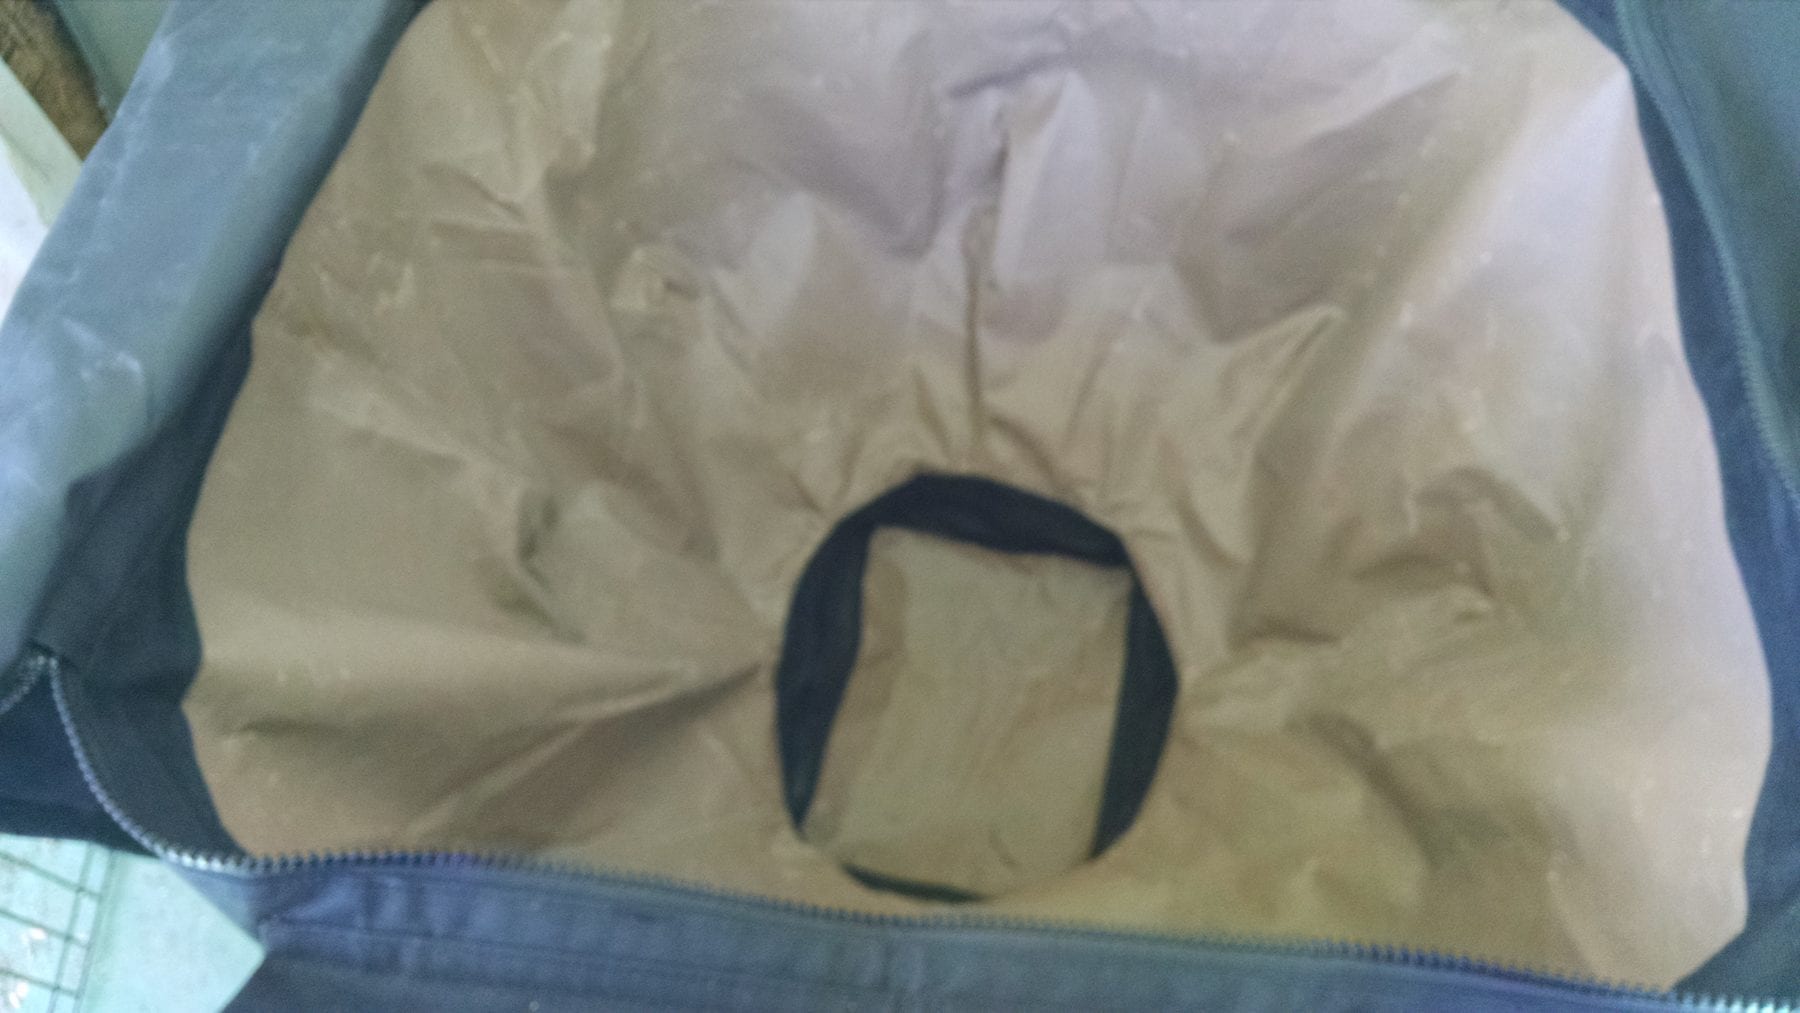
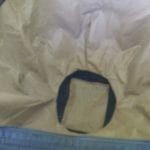
Top opened showing inside bag
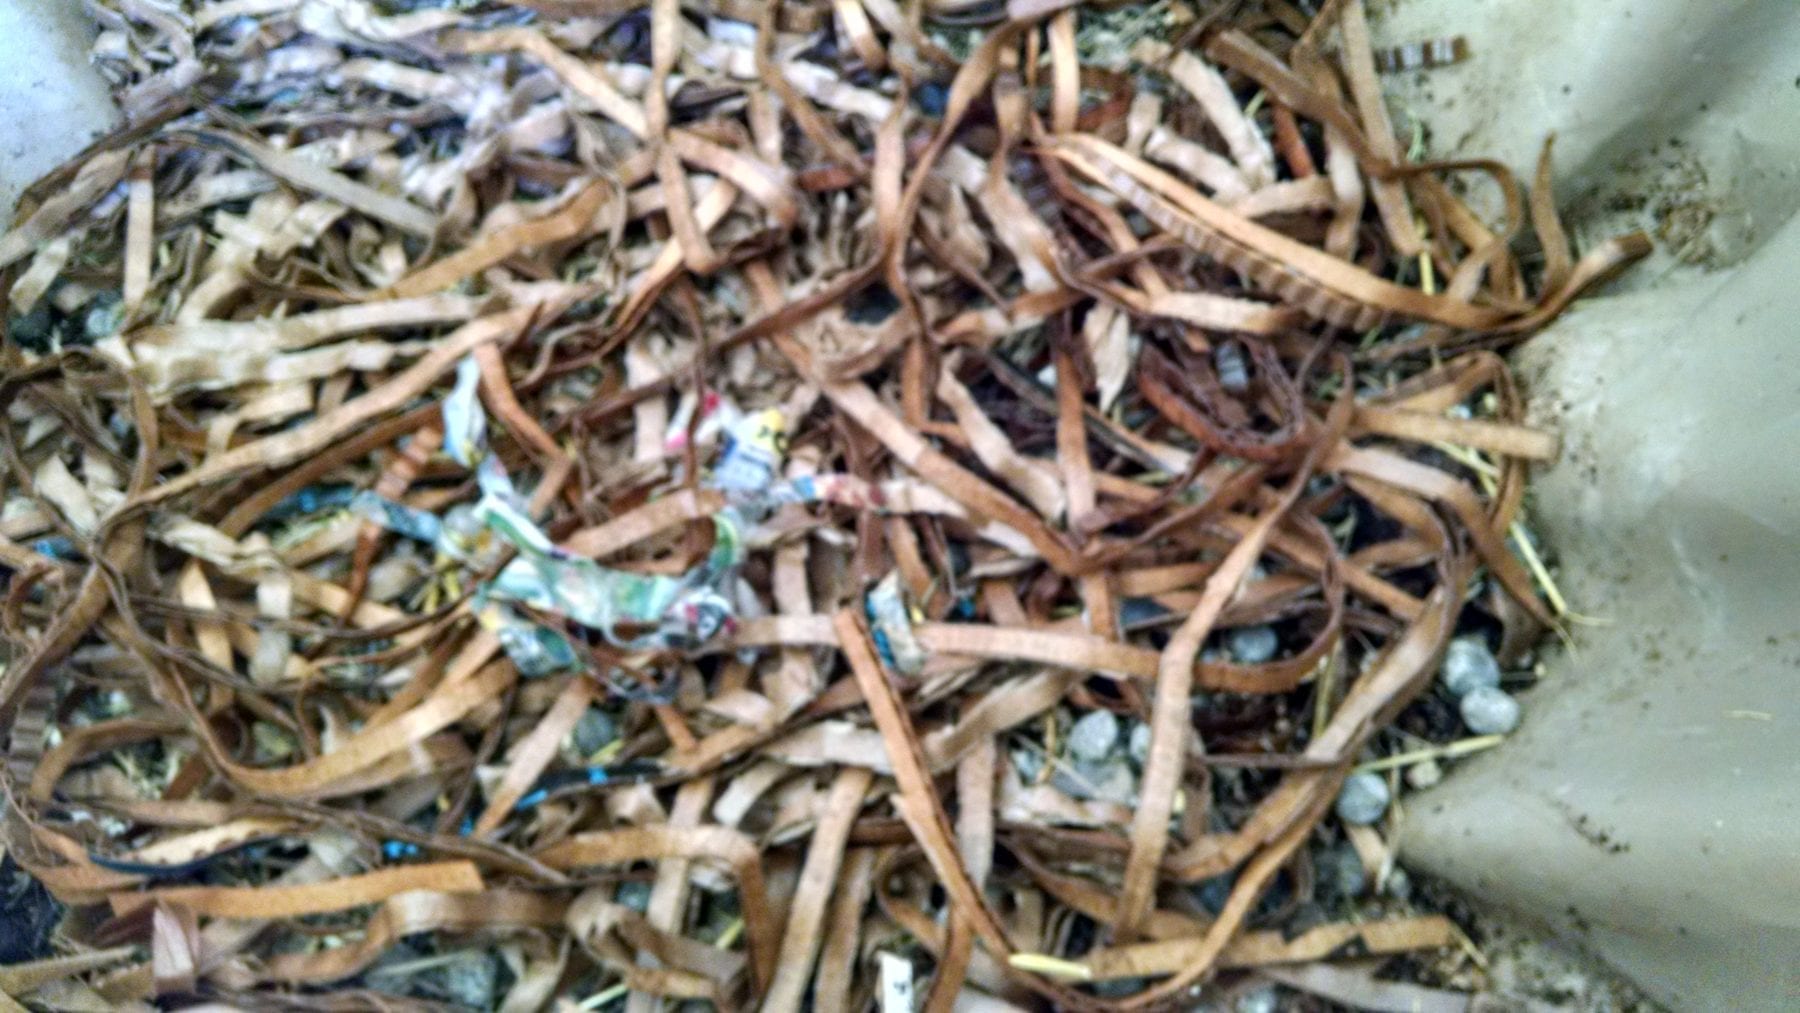
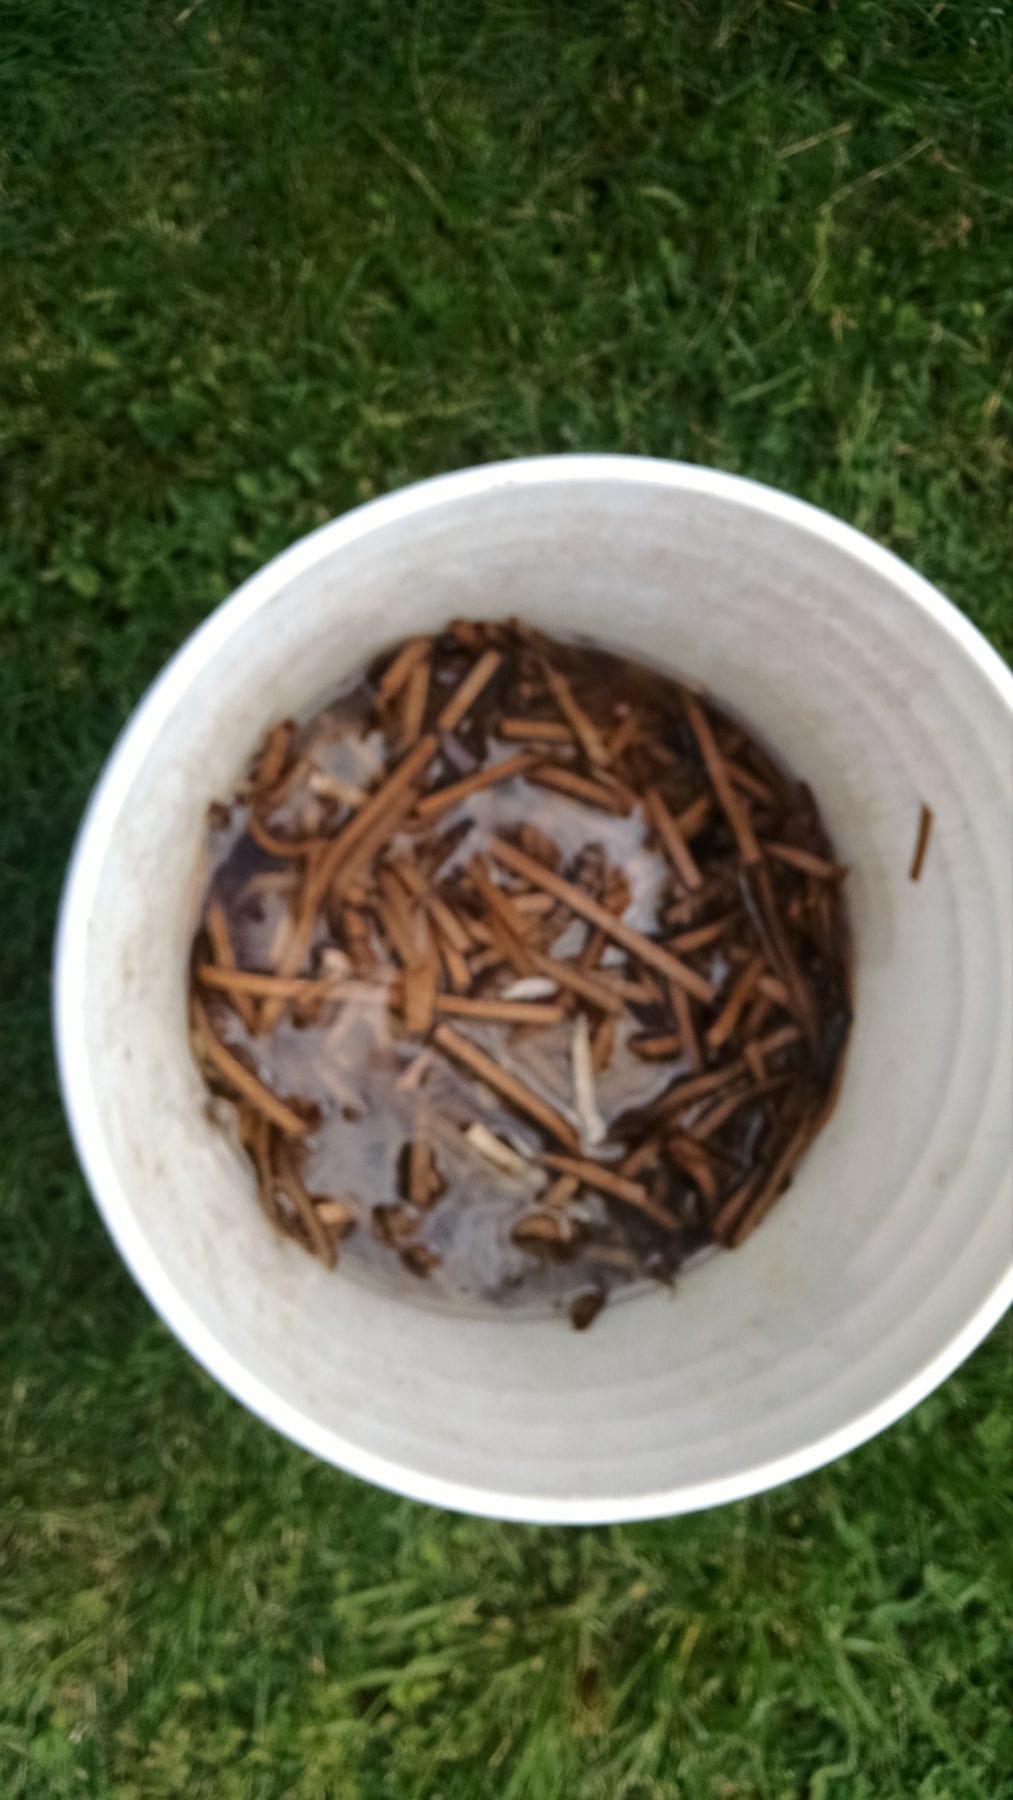
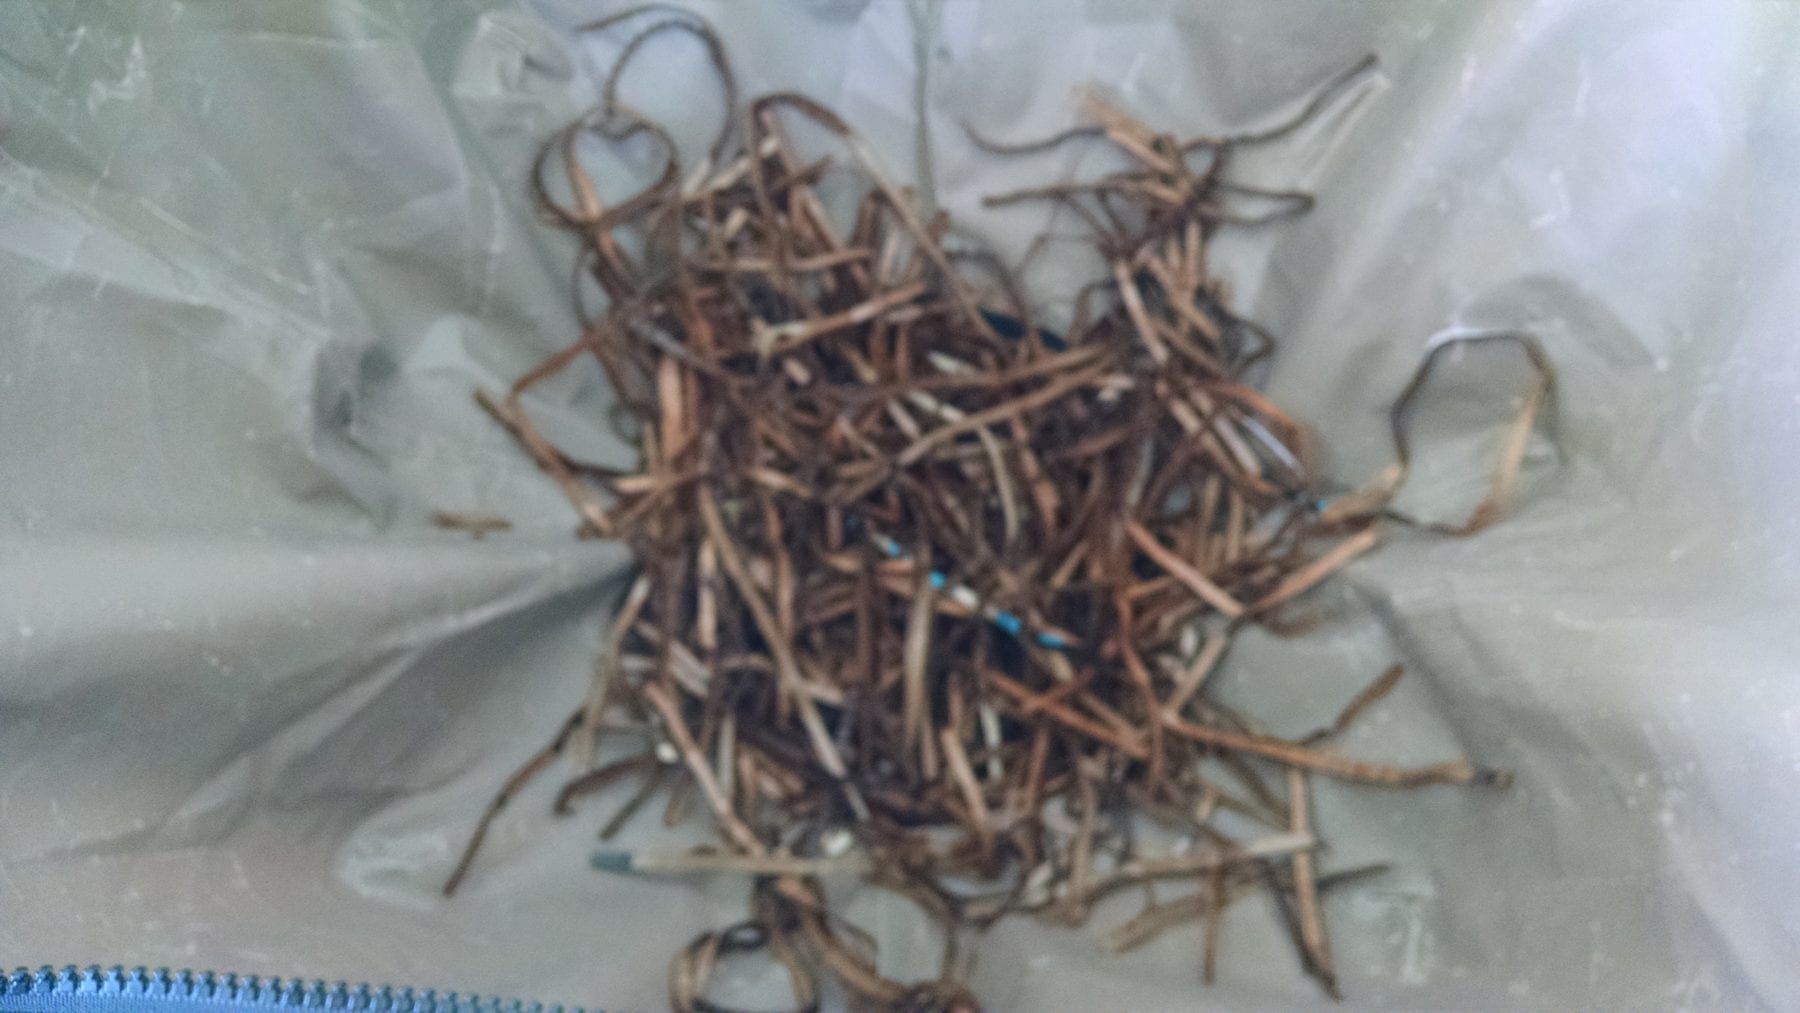
Shredded cardboard in a bucket soaking in water. I used 2 gallons of shredded cardboard. I let that sit while I gathered up the rest of my materials. Then I drained the water off… I did not wring the extra water as I was using some dry materials and I wanted the extra moisture.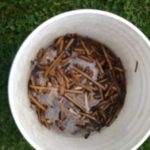
I then added some of the cardboard in the bottom of the bag, just a good handful tossed in there. 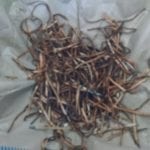
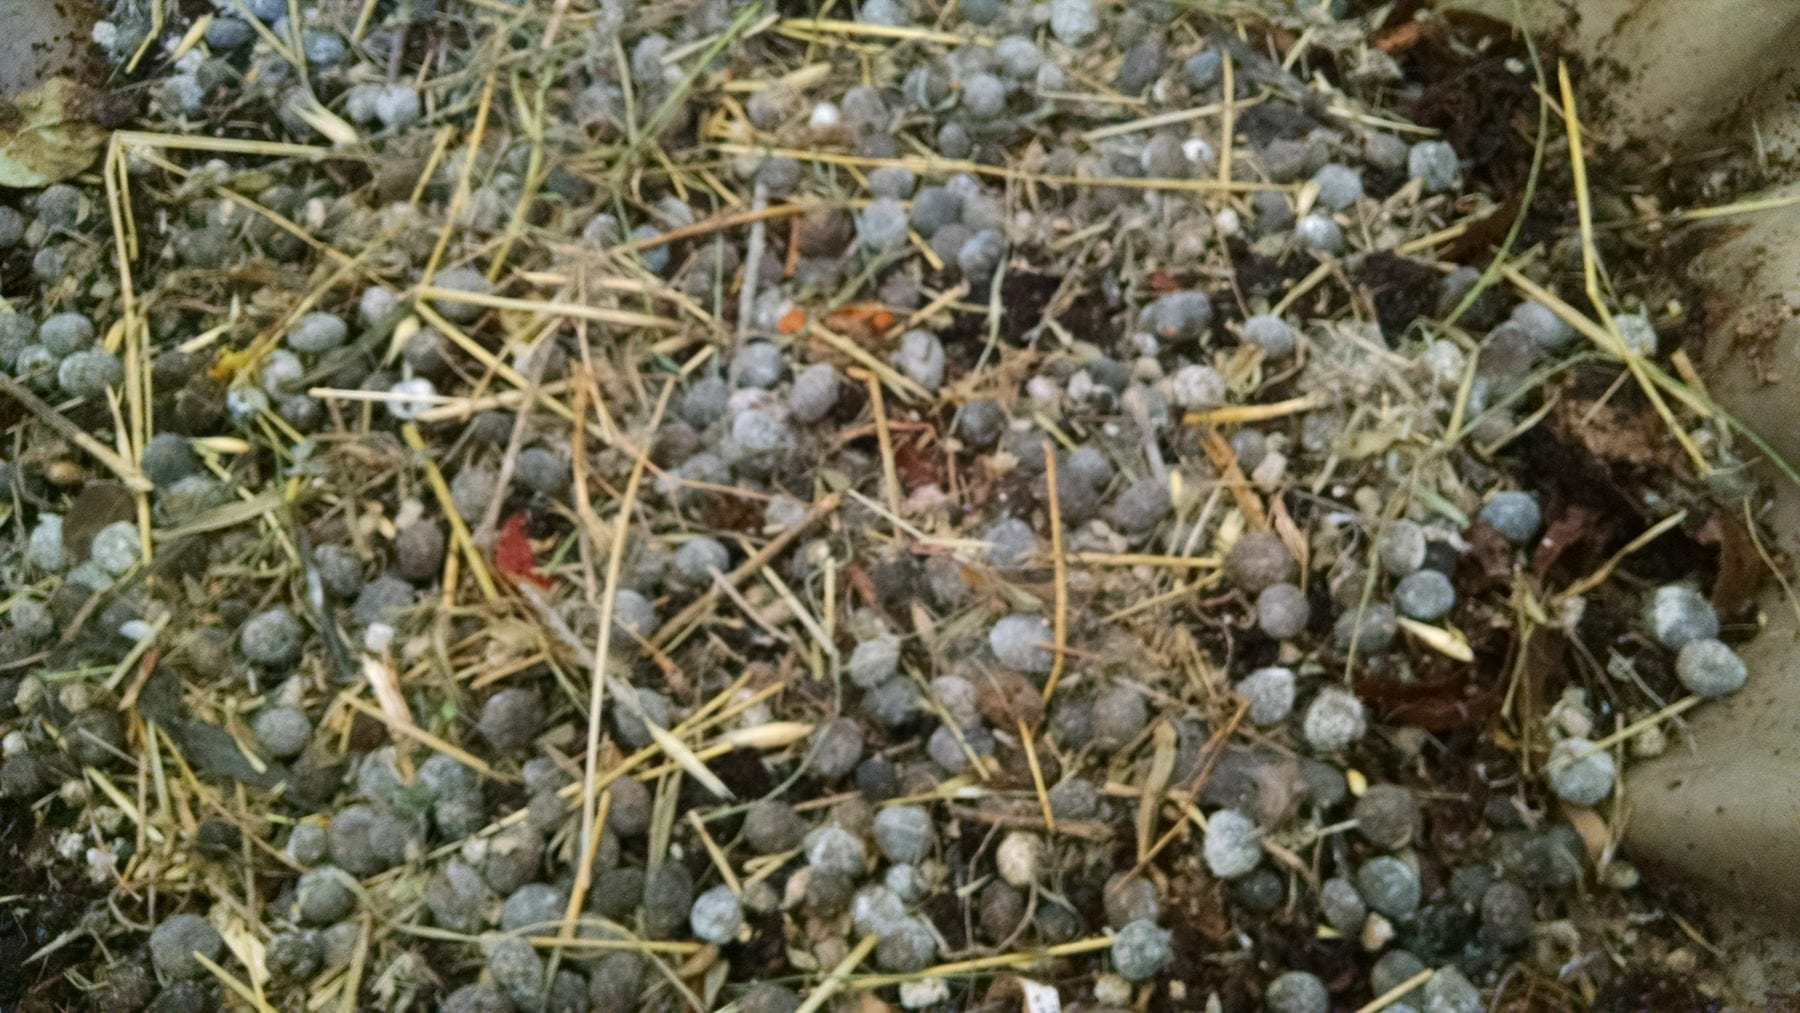
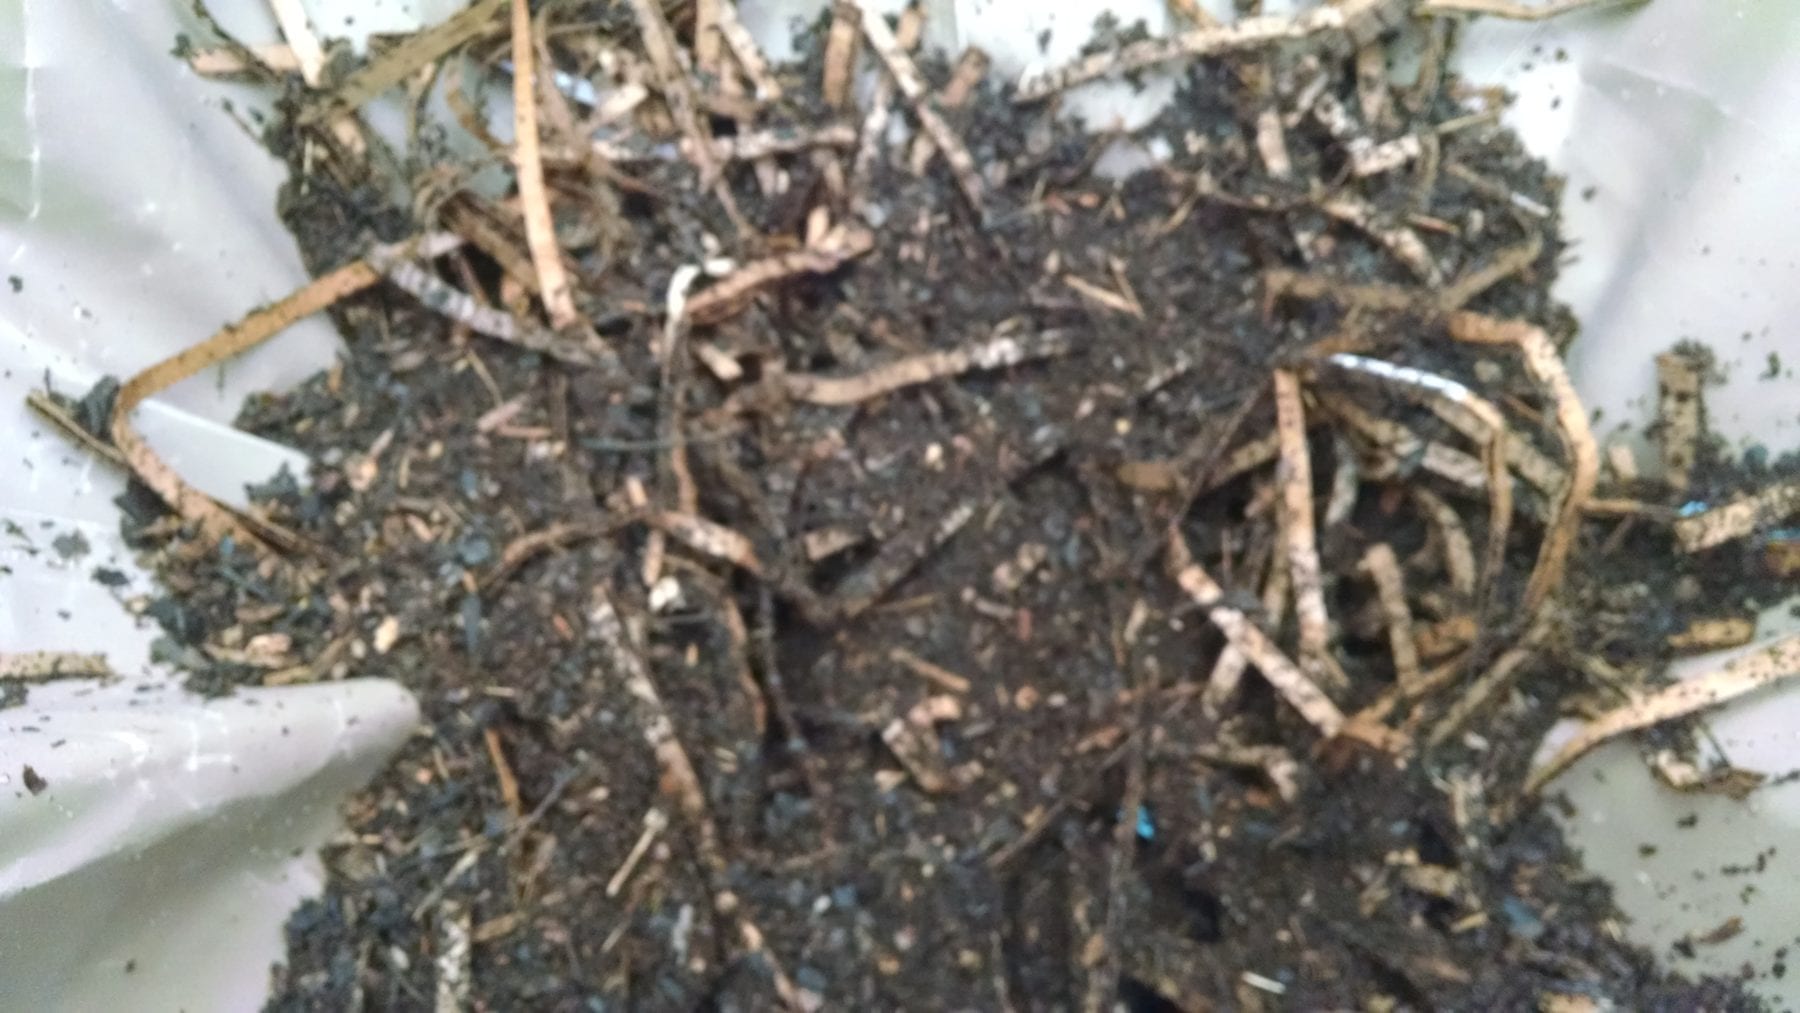
Next I added some of the bedding material from the WSM (worm starter mix). Just sprinkled it on. I did 3 layers of cardboard and WSM bedding.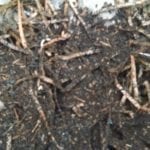
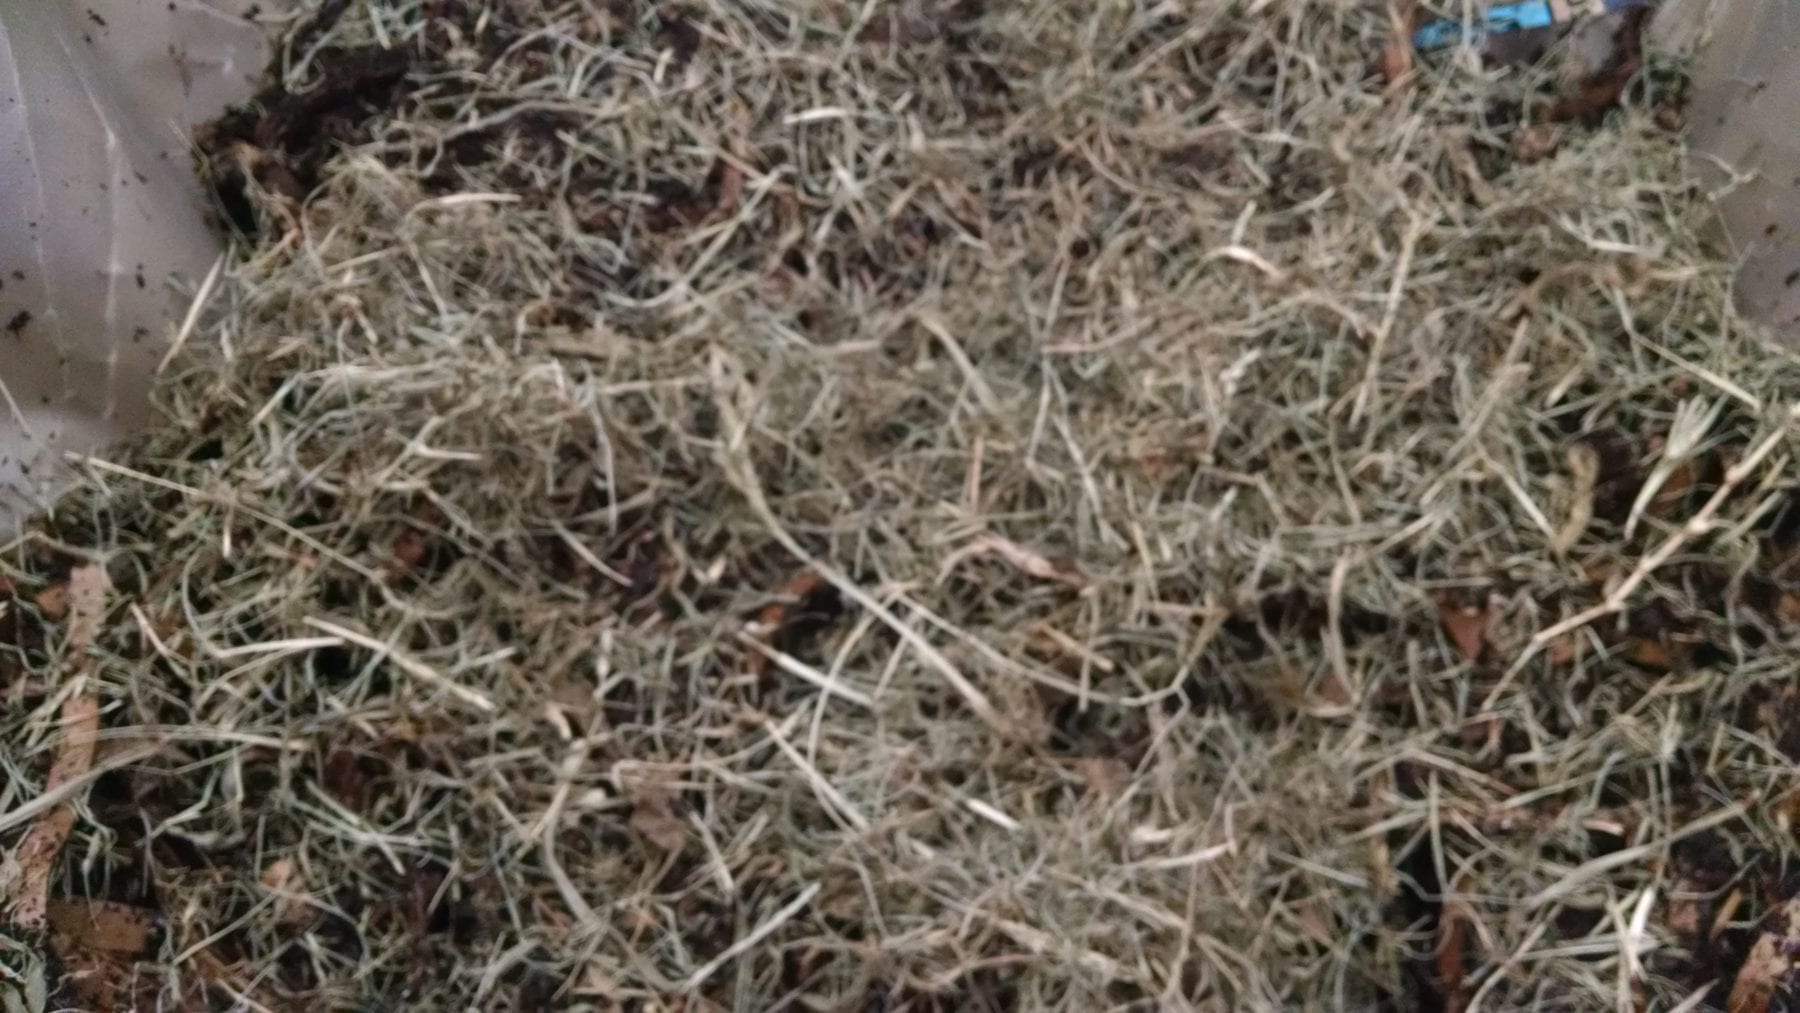
Remember the cardboard is wet and the WSM bedding is damp so I next topped that off with a good handful of dry aged grass.
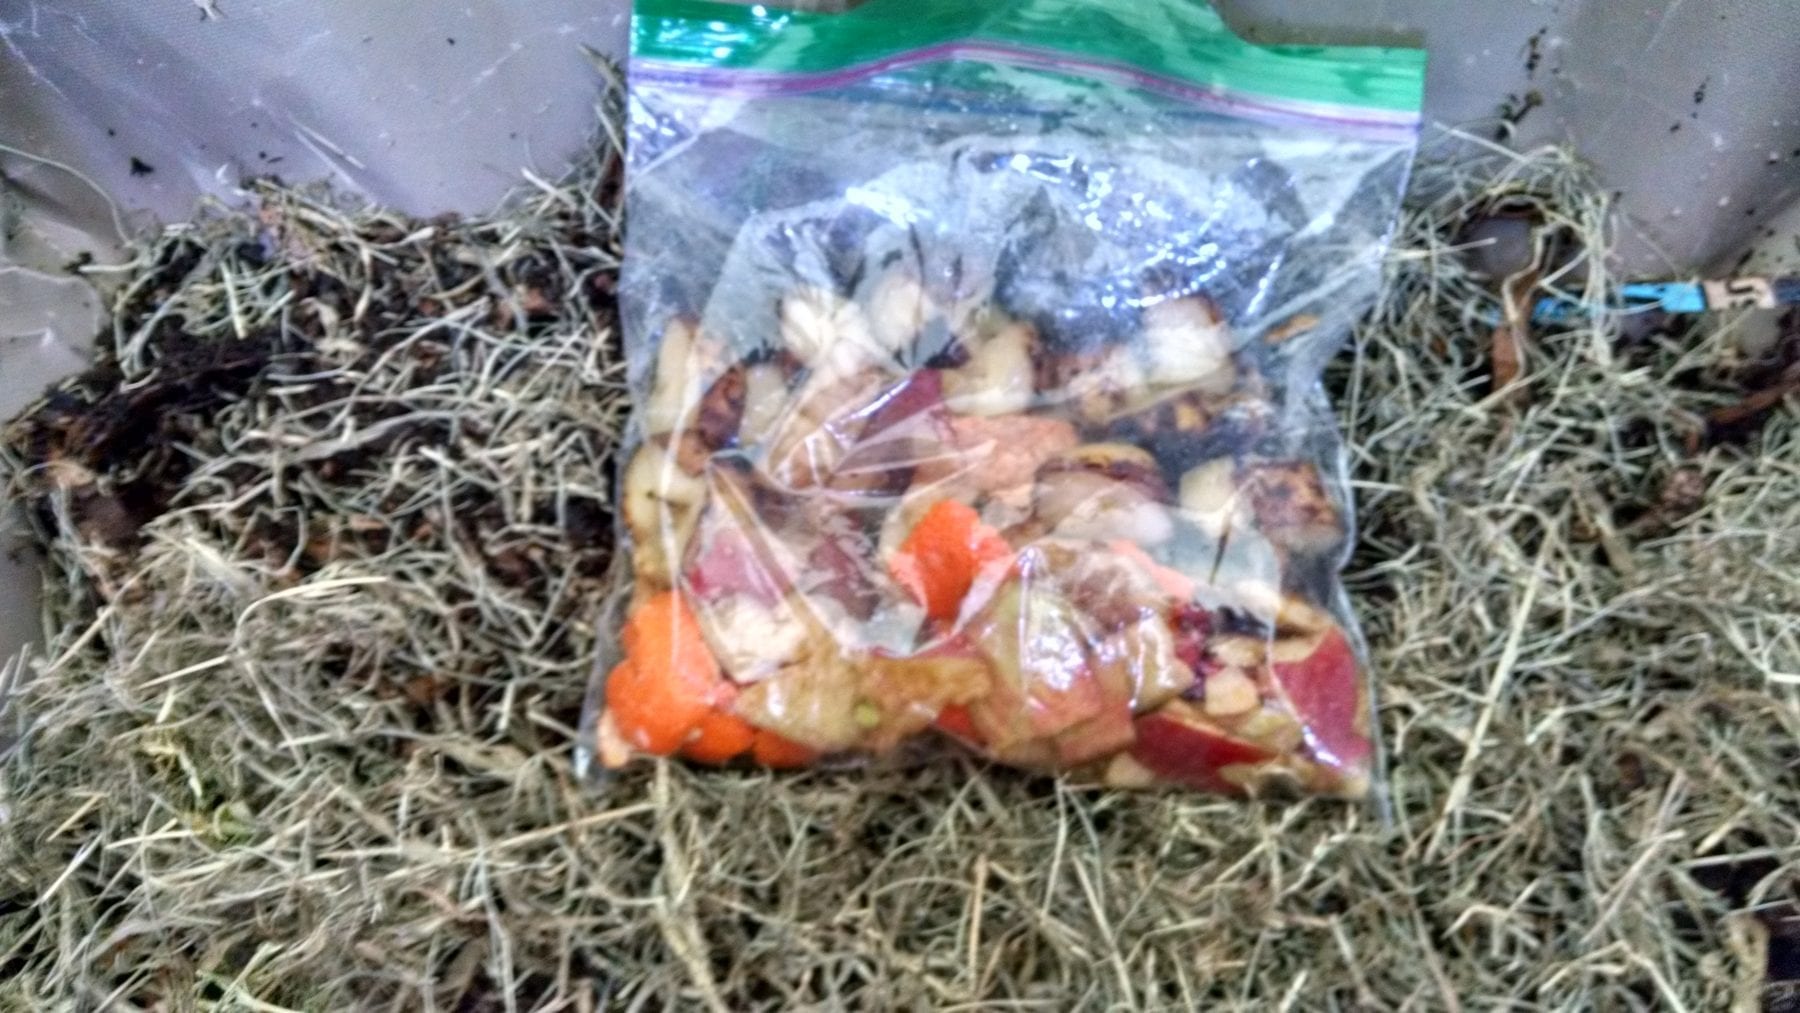
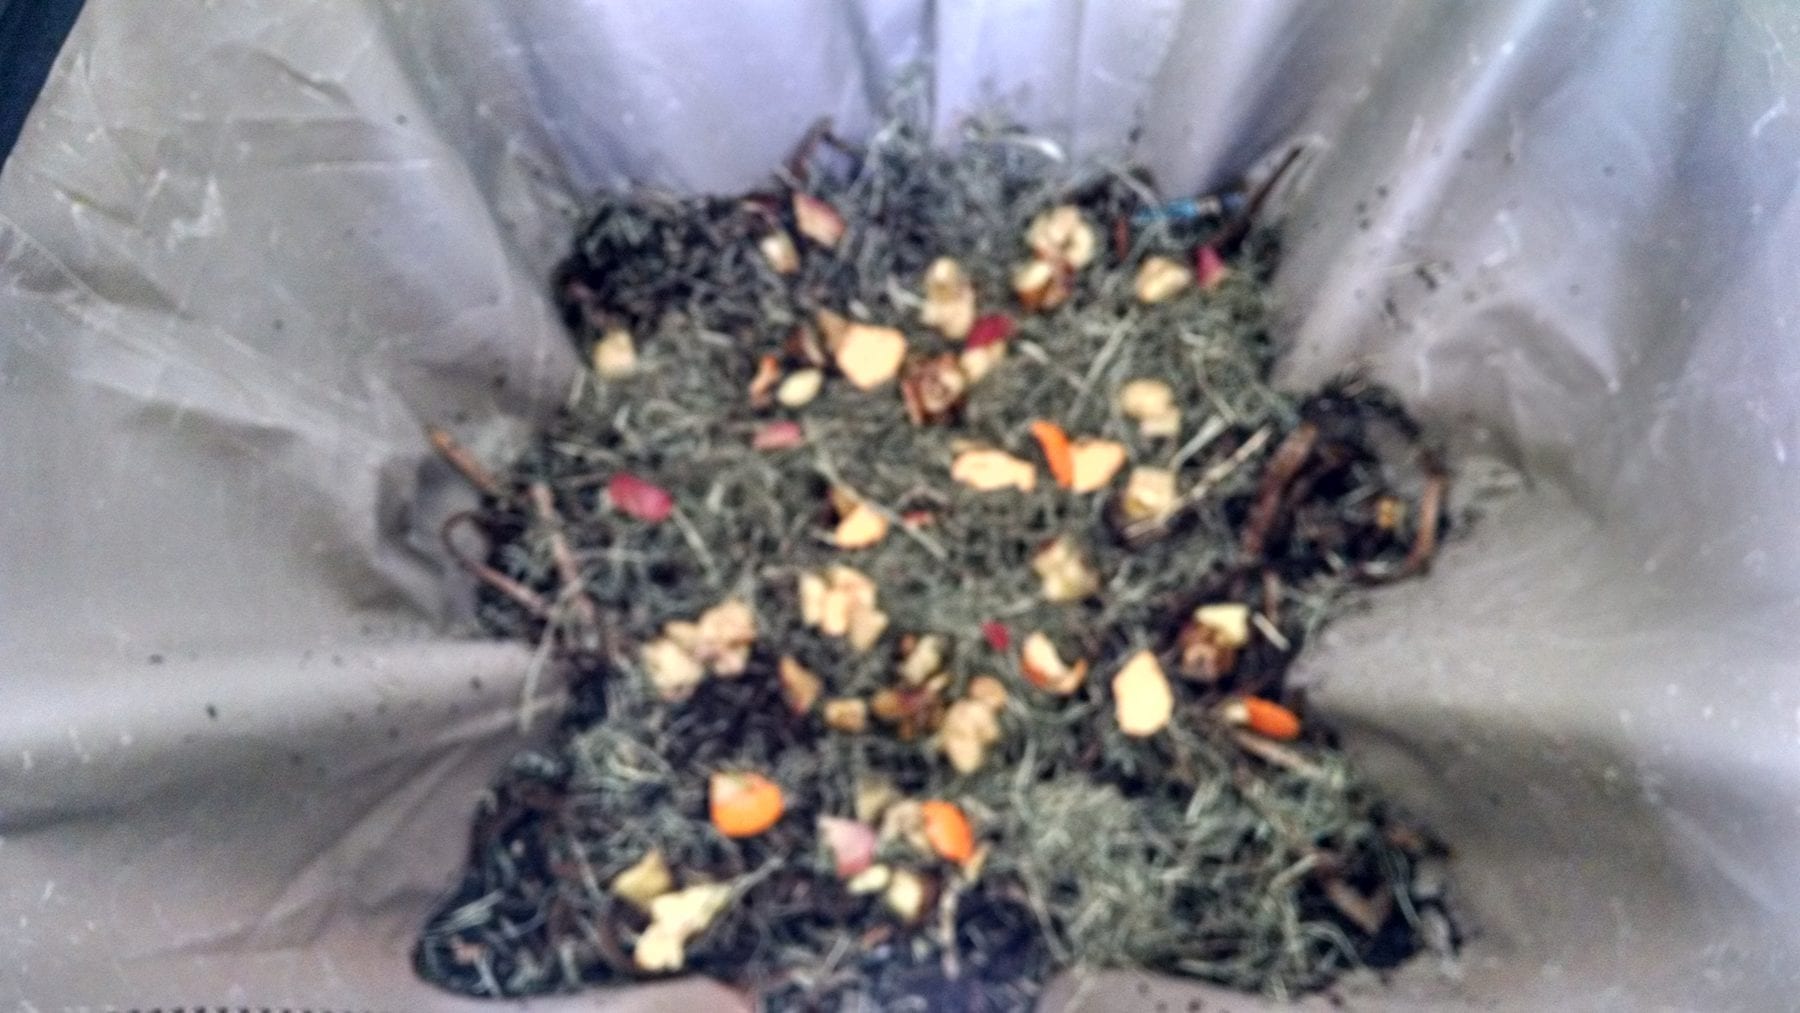
Next I had about a cup and a half of apple peels, apple core, a small tangerine peel and a small banana that I wanted to add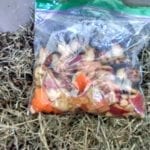
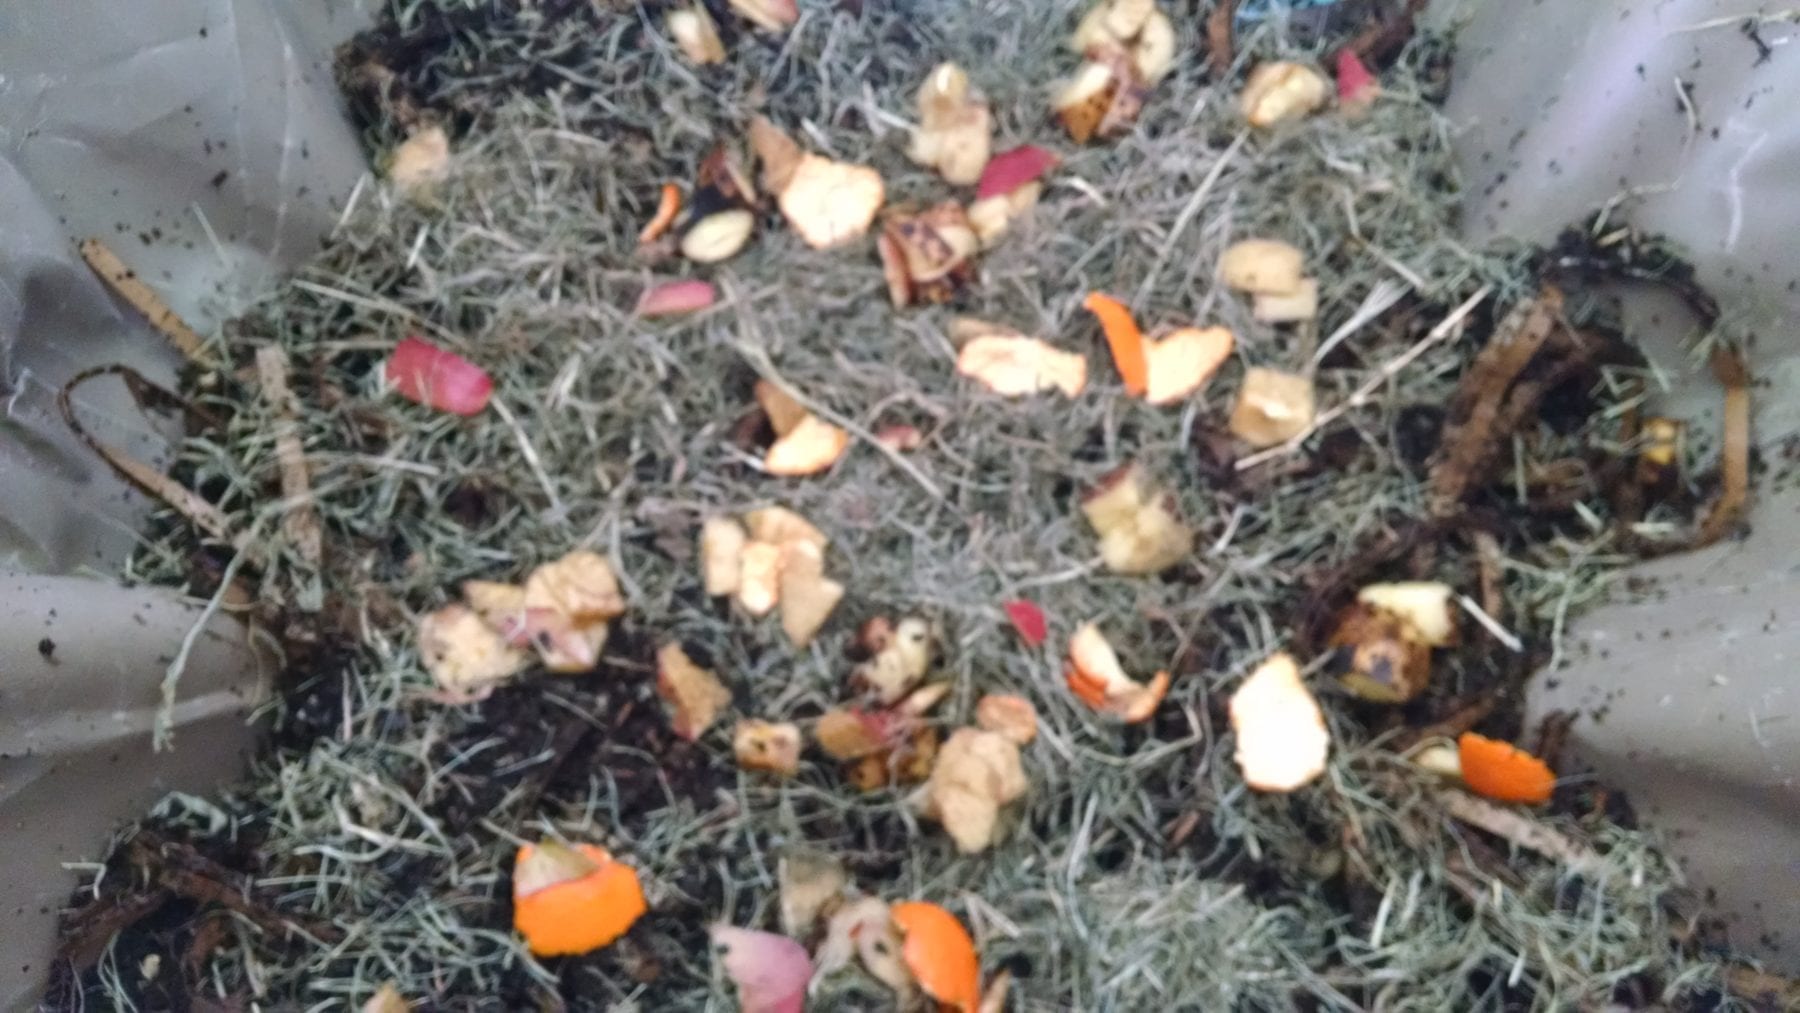
I sprinkled that around on top of the dry grass layer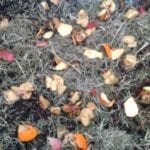
The I added another layer of dry grass on top of that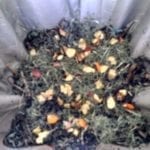
I finished that off with the rest of the WSM bedding
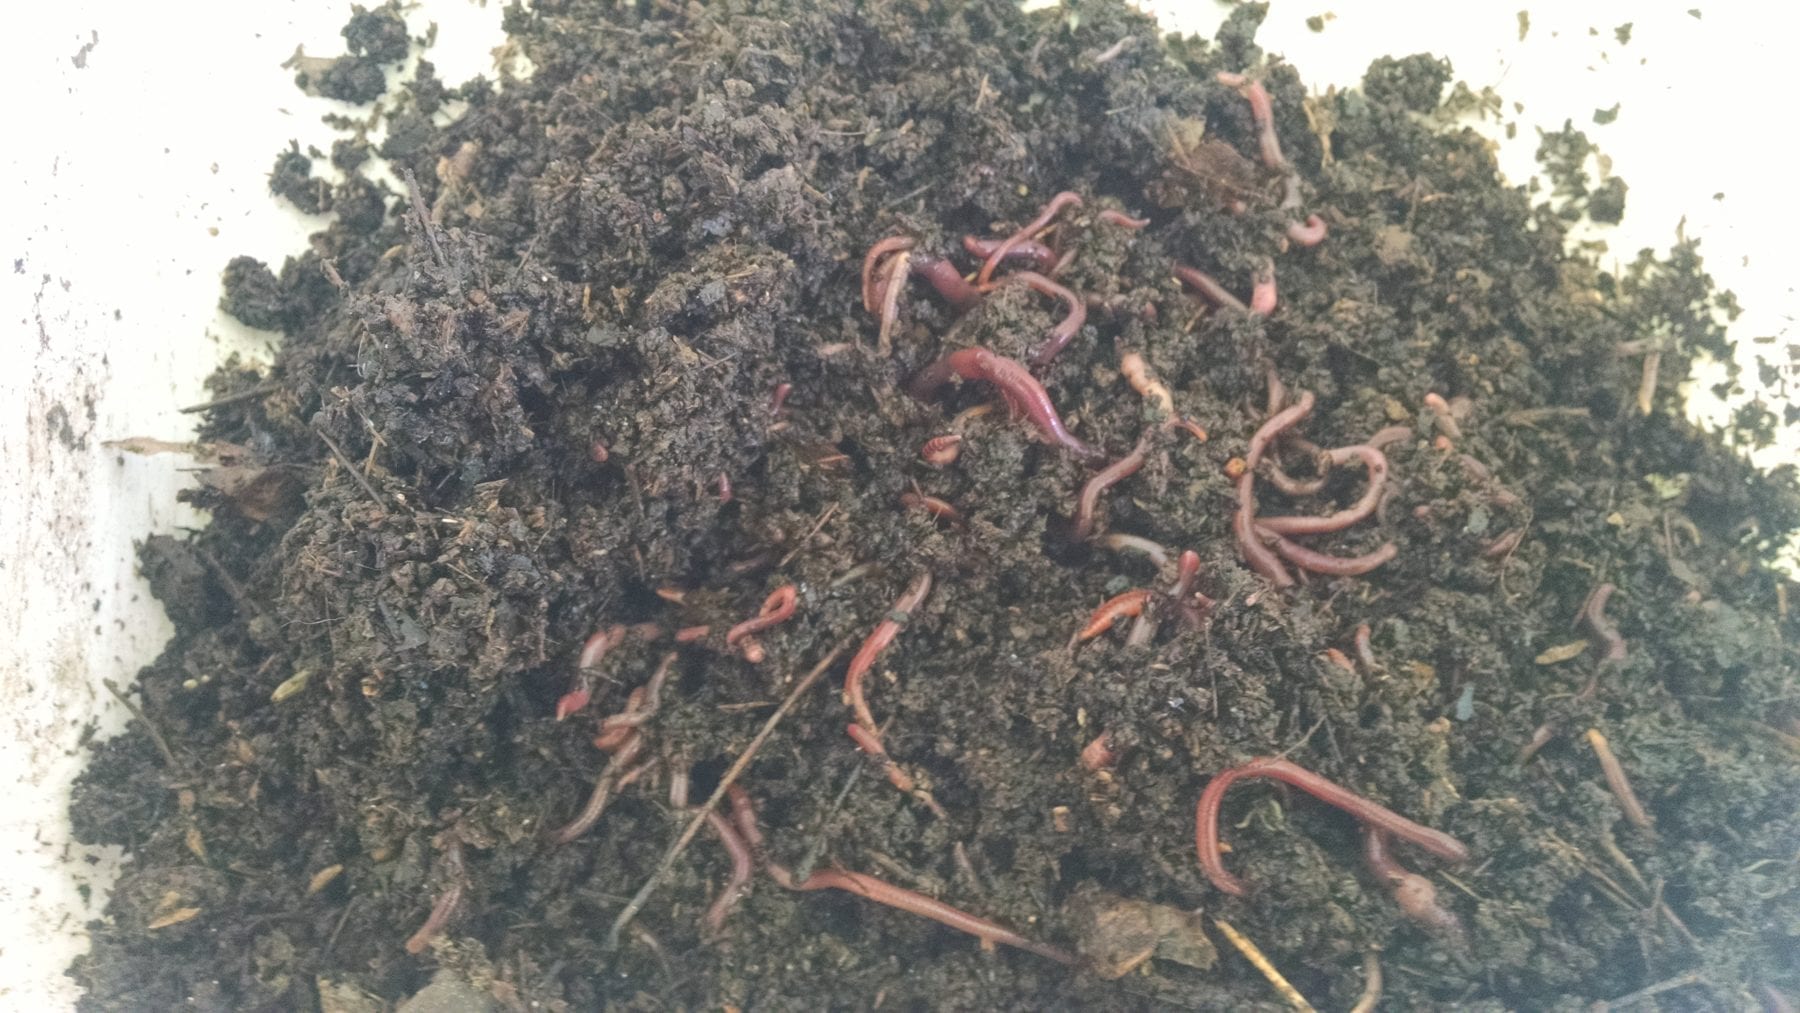
I next added the worms and cocoons that were in the WSM to the top… I just sprinkled it out on top… You can dump the bag right on top if you prefer.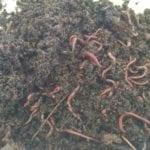
** WSM only has 1/4 lb of worms and over 100 cocoons, I was told to start with 5 lbs of worms IF you are an experienced vermicomposter OR 2 lbs of worms if you are a beginner… As much as I love the UWB I feel the cost of the bag and also the cost of the worms will deter people from starting to vermicompost….. THIS is why I am starting mine with one of my Worm Starter Mixes as I want to see how productive it can be by doing it this way ***
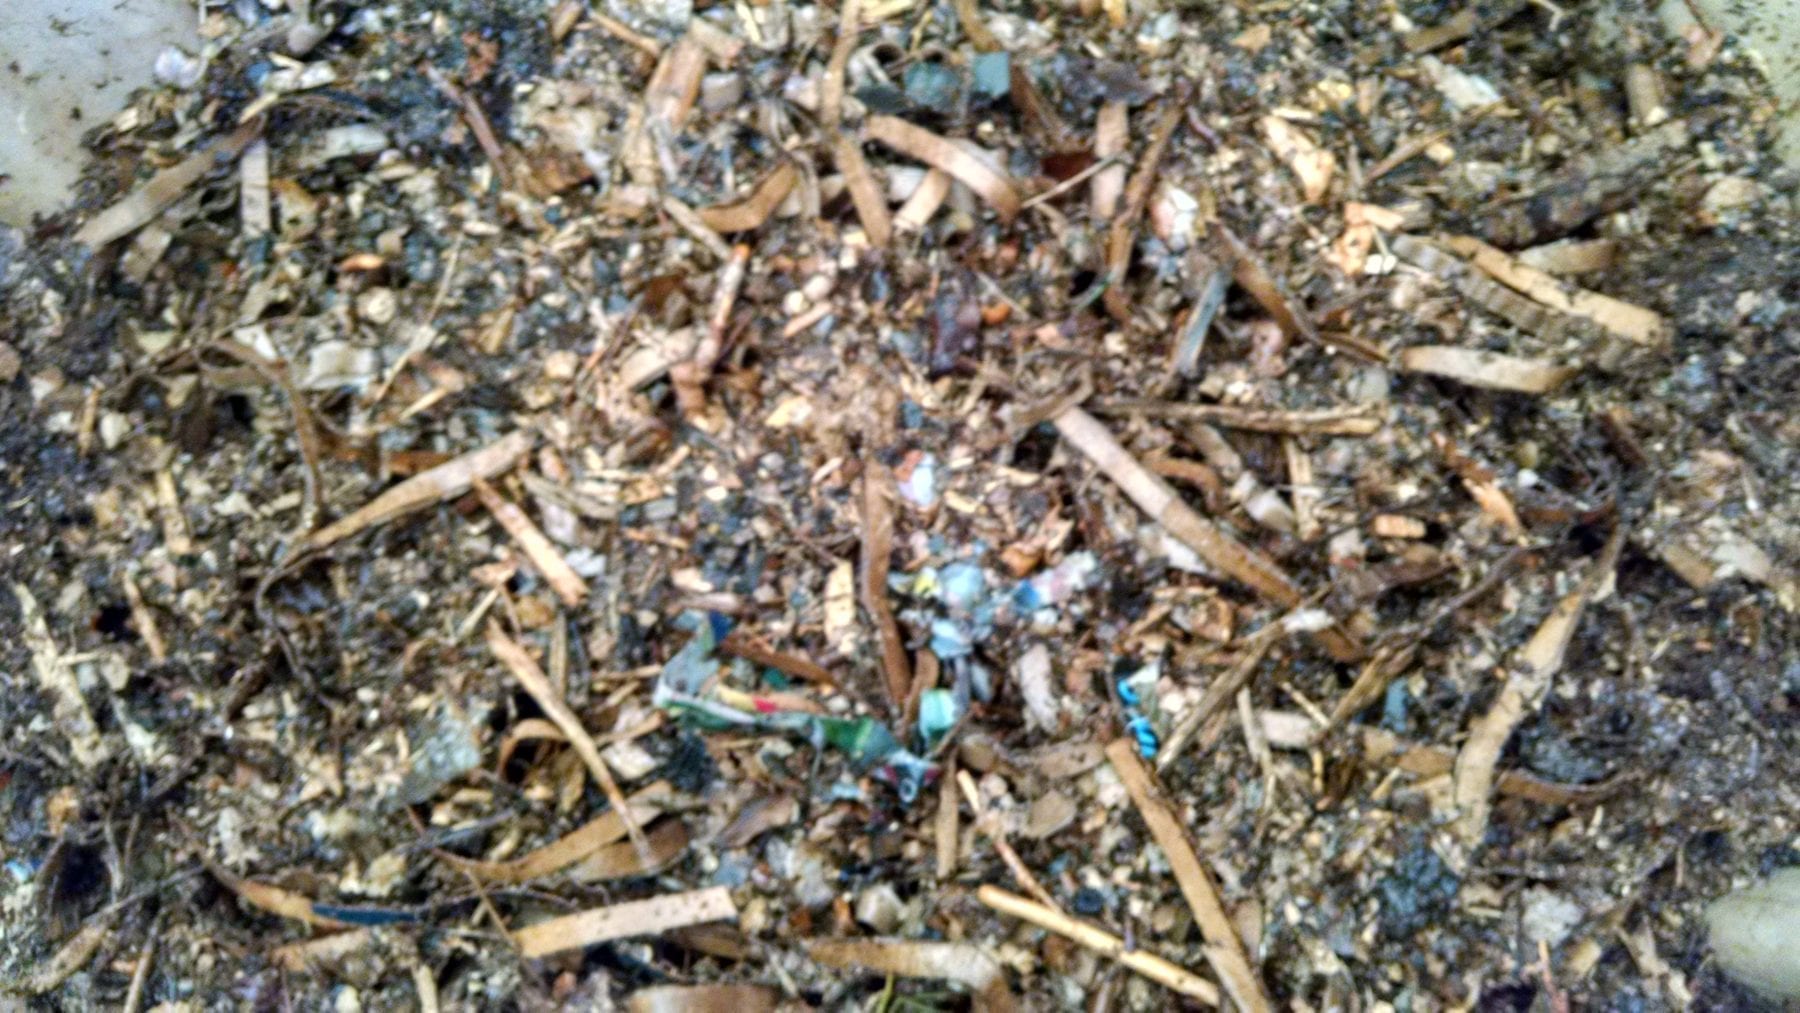
My final steps were to add a layer of mulched leaves with some wood chips to the top (my preference) and then to give the top a spray of water (not a lot, just a good misting) as this was very dry material.

Here is a list of items I used:
- 2 gallons of wet shredded cardboard
- 1/2 gallon of dry aged grass clippings (substitutes dry cardboard, dry newspaper, dry leaves…the key is some dry material here)
- 1.5 cups of food scraps (tip..use apple core and peels along with banana peels to tempt the cocoons to hatch)
- 1/2 gallon of mulched leaves and wood chips (my preference, you can substitute with any of the above items or not add at all)
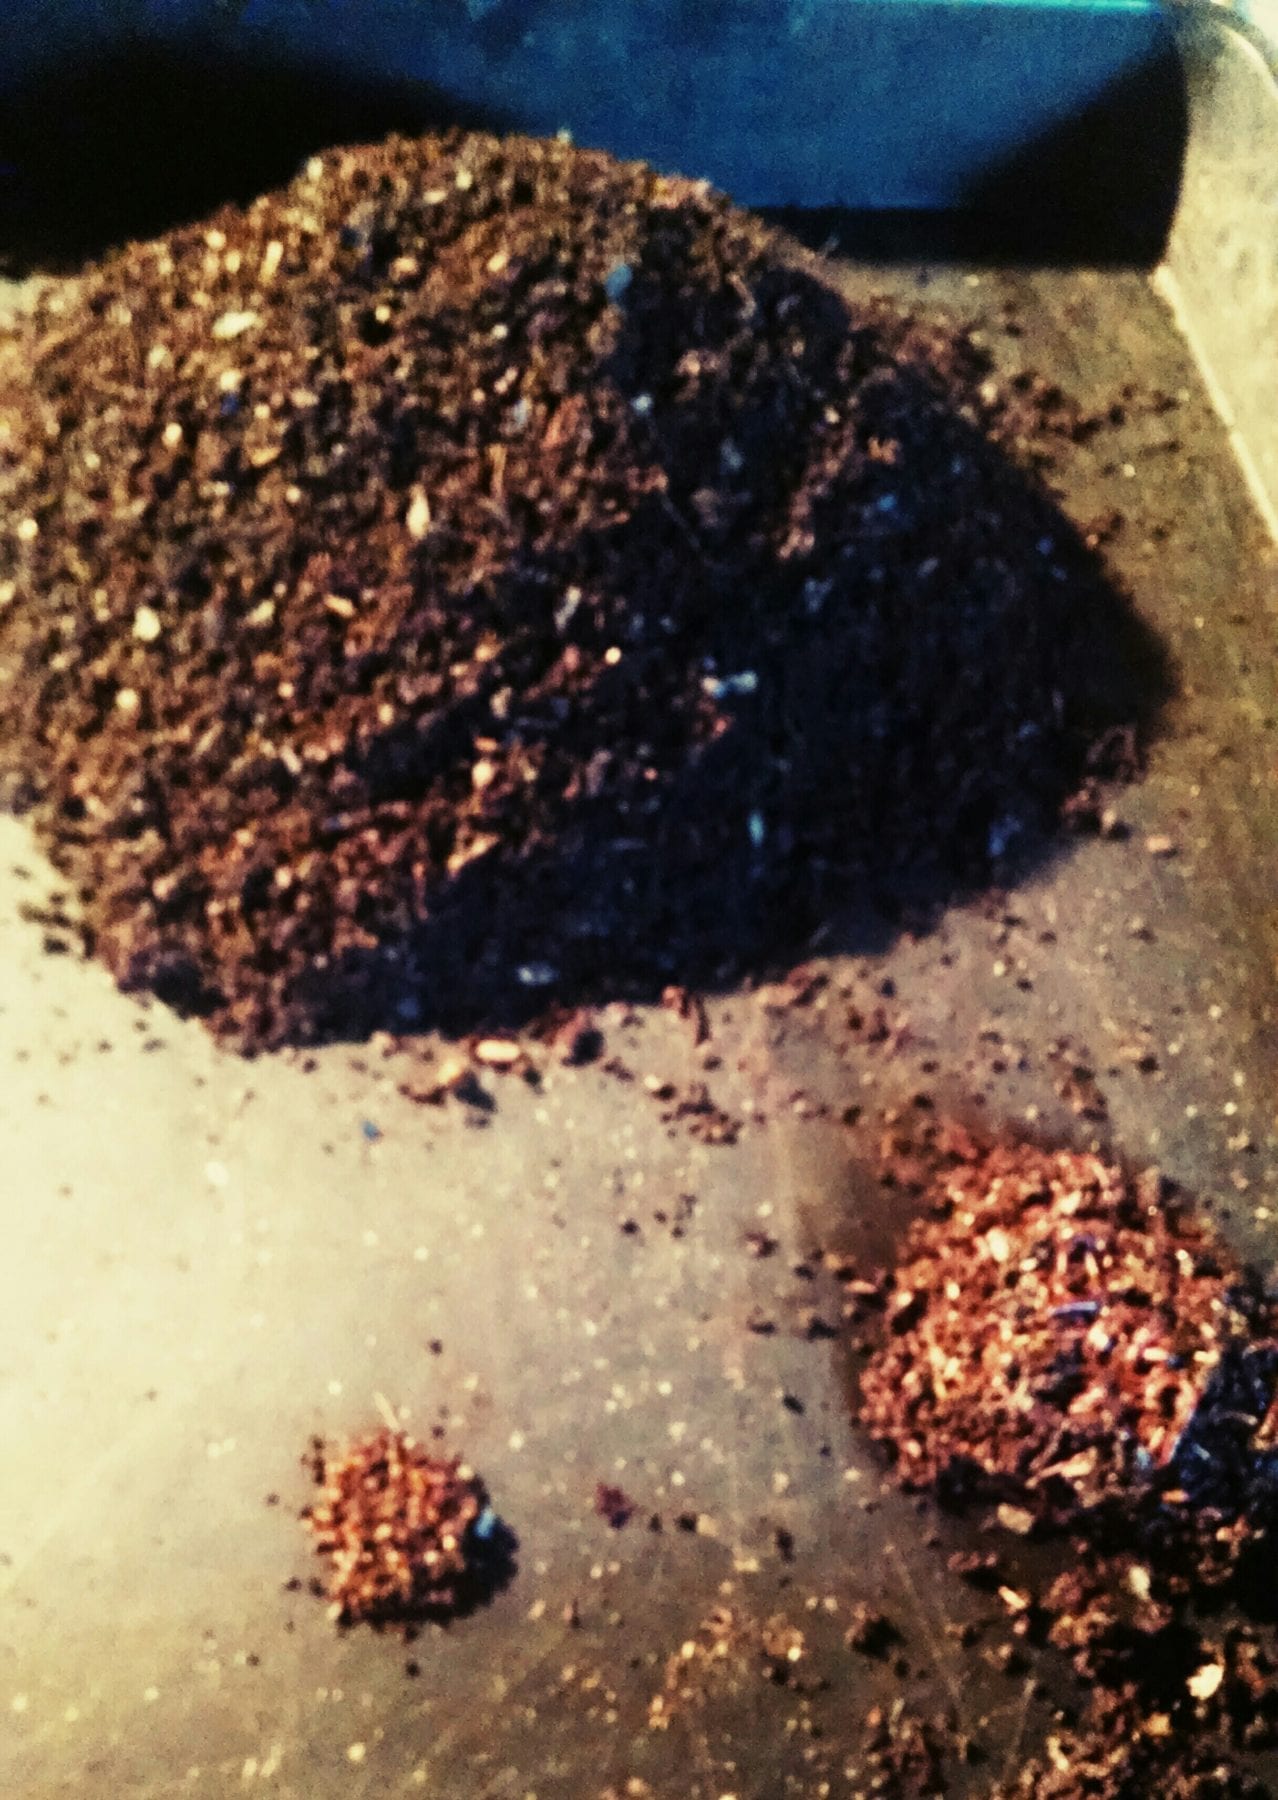
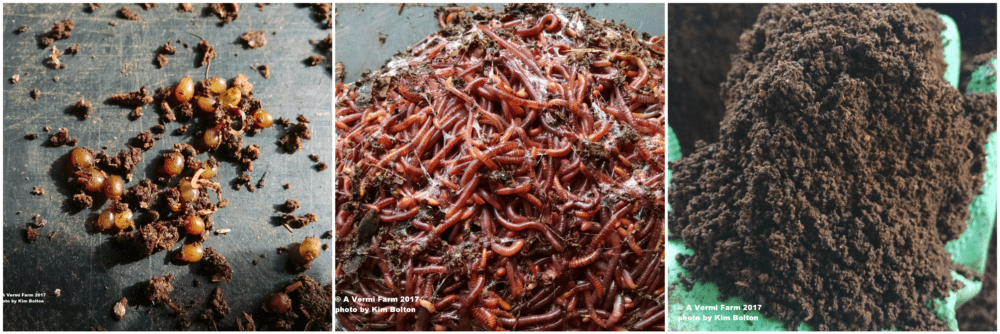
- My worm starter mix (1/4 lb of worms, 100+ cocoons and 3 lbs of current 1/4 inch screened bedding from a current active bin)

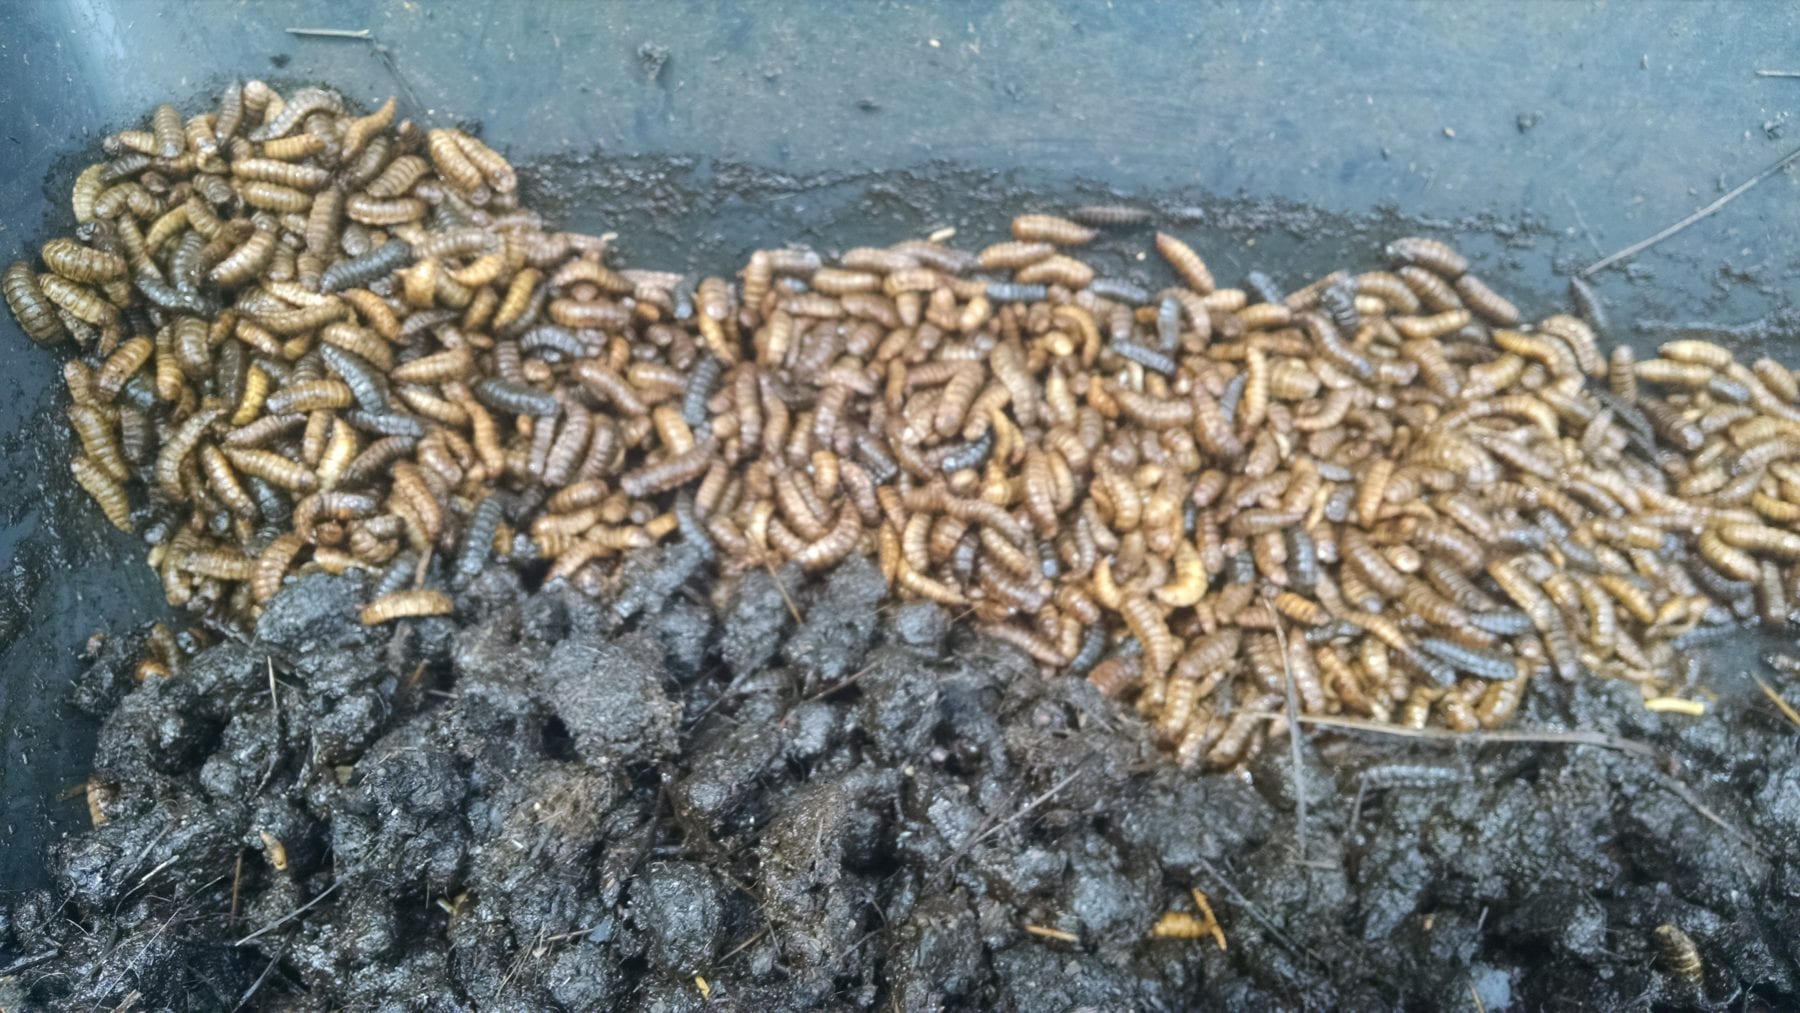

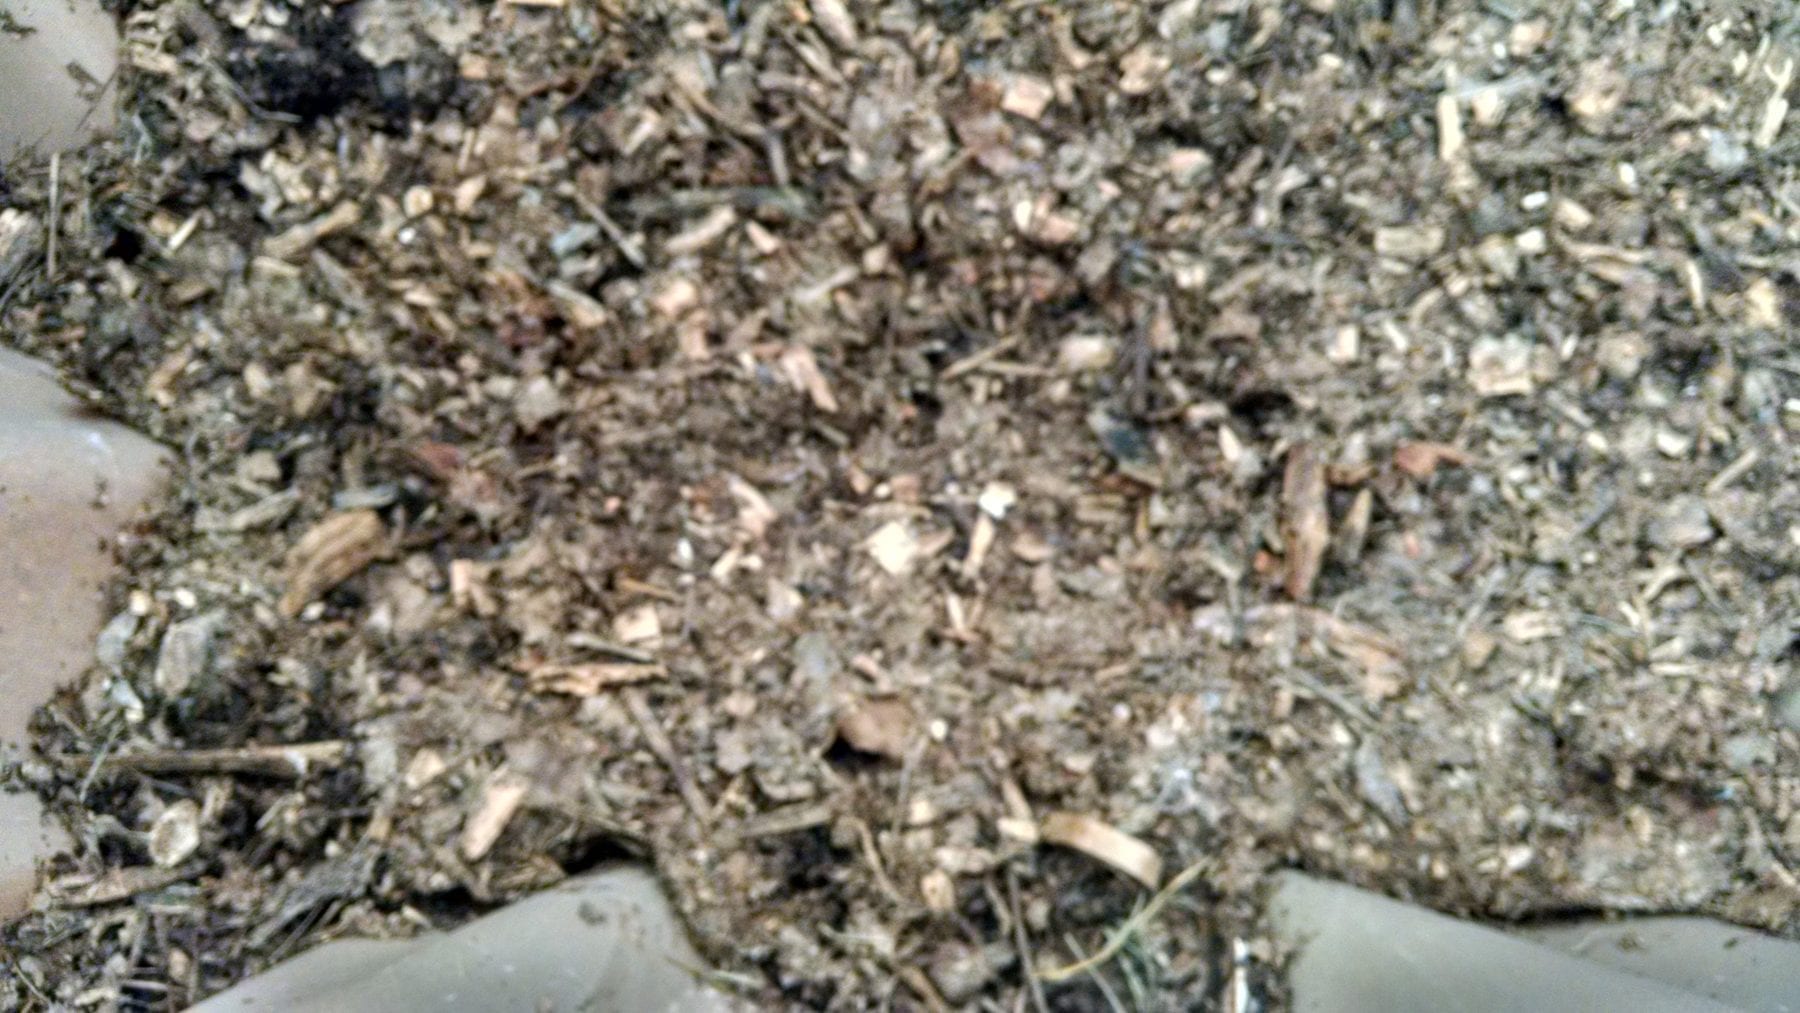
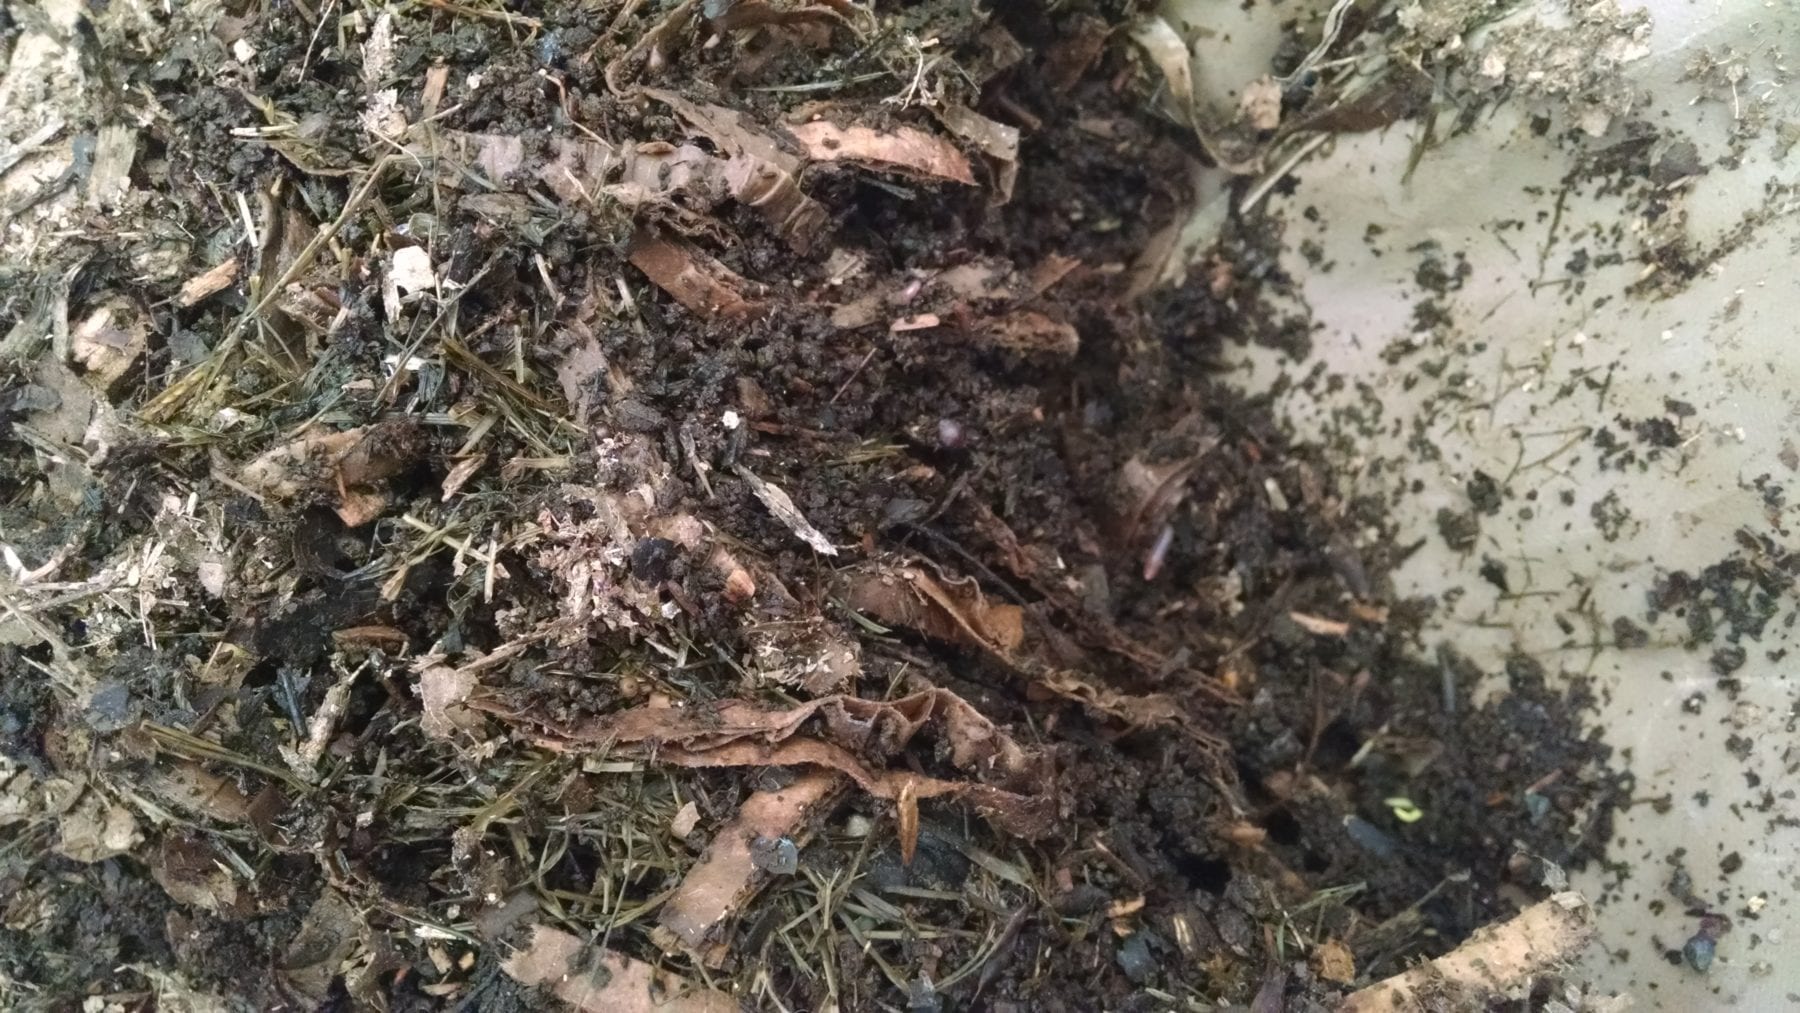
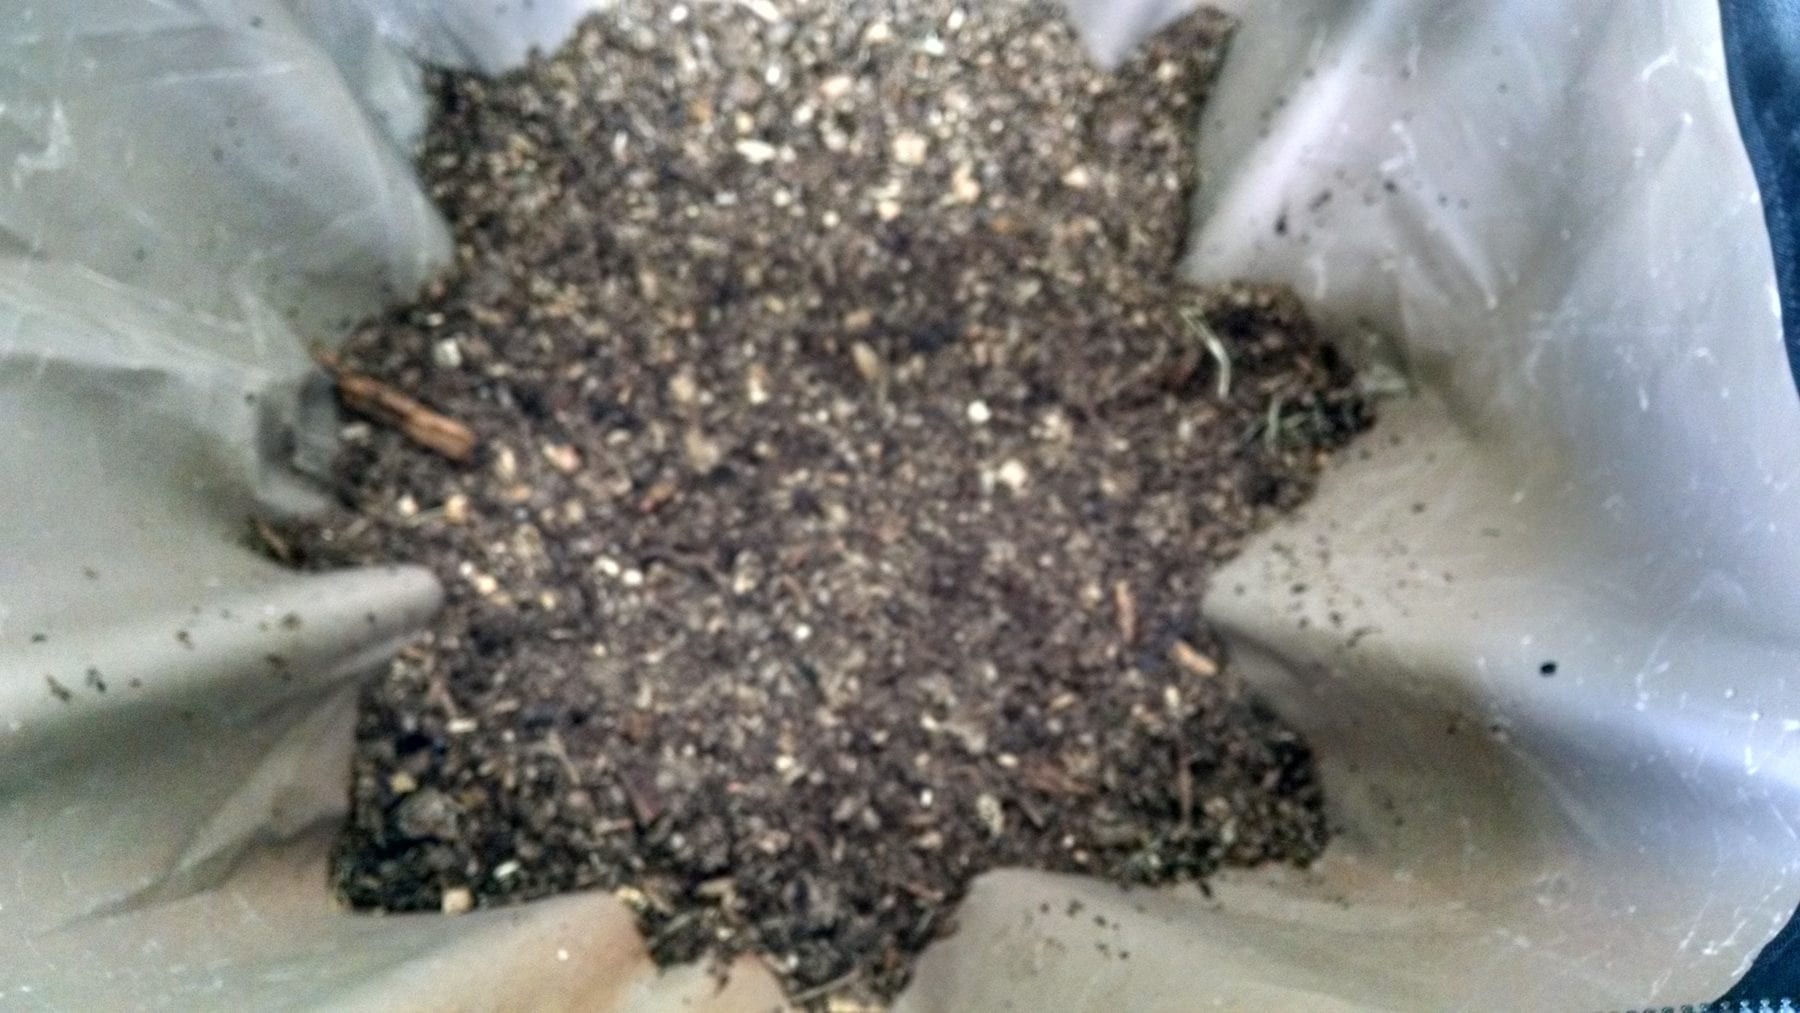
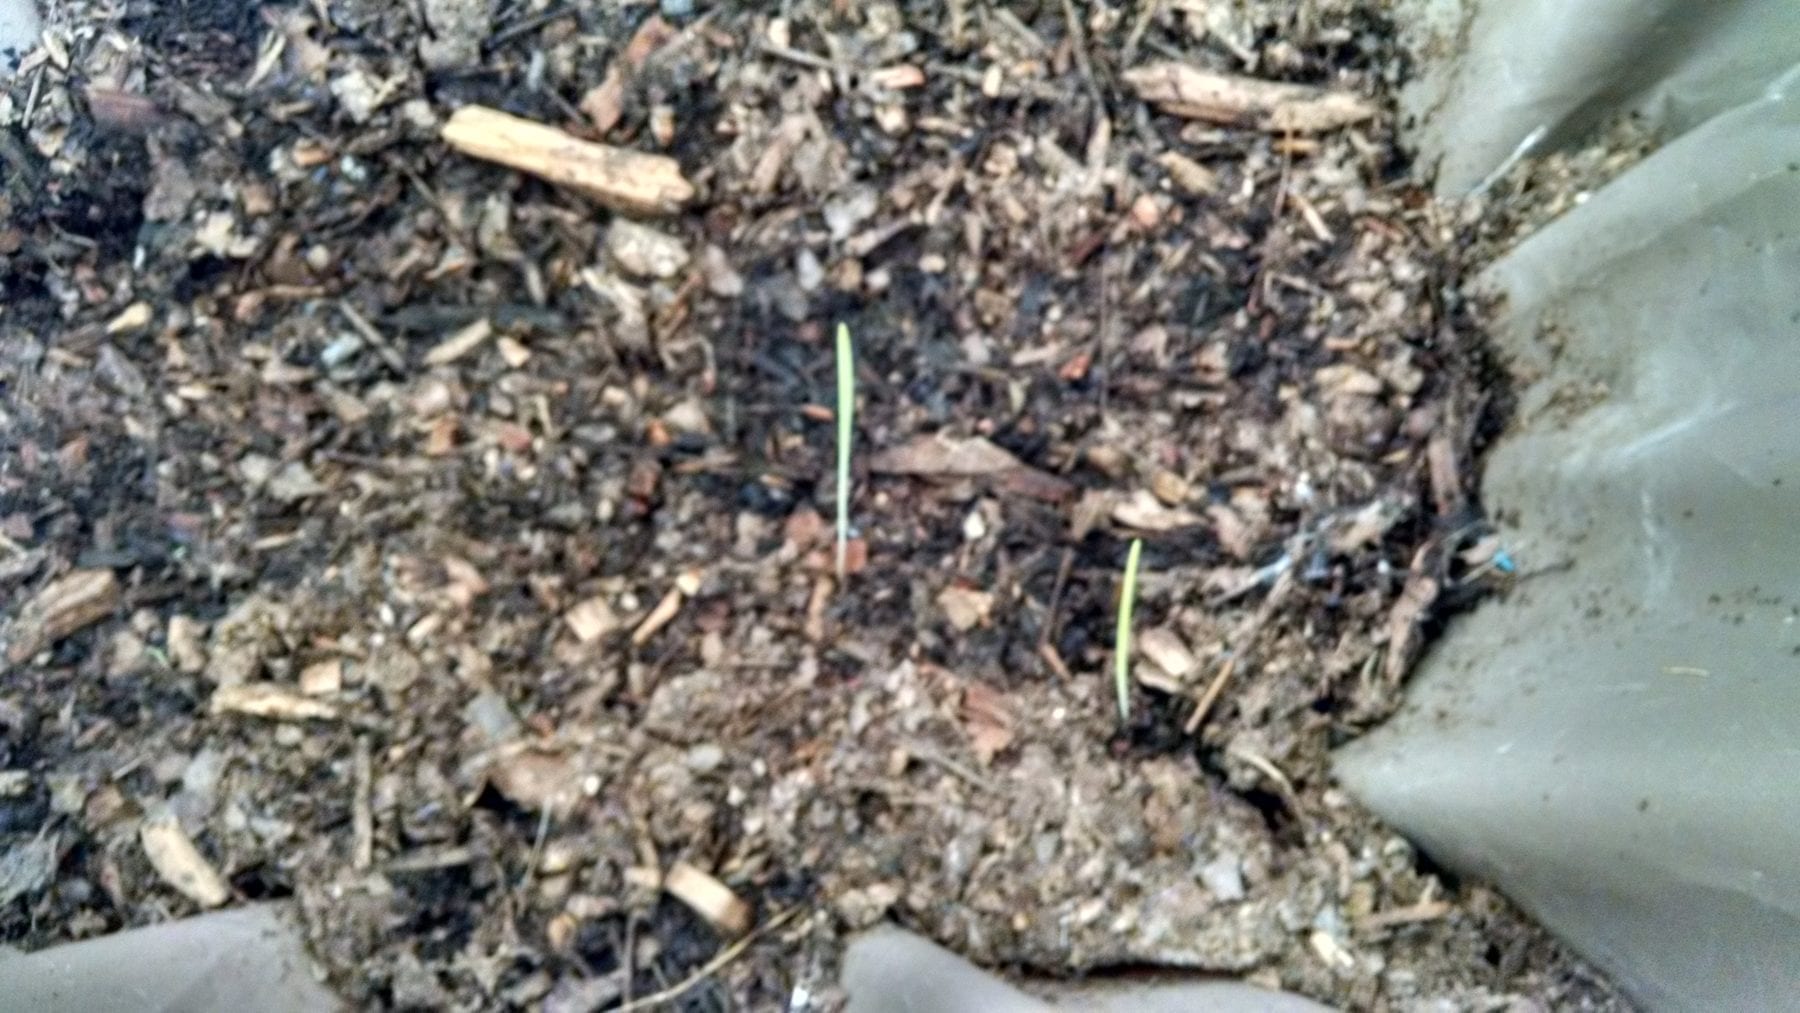 This is what it looked like when I first unzipped the bag.
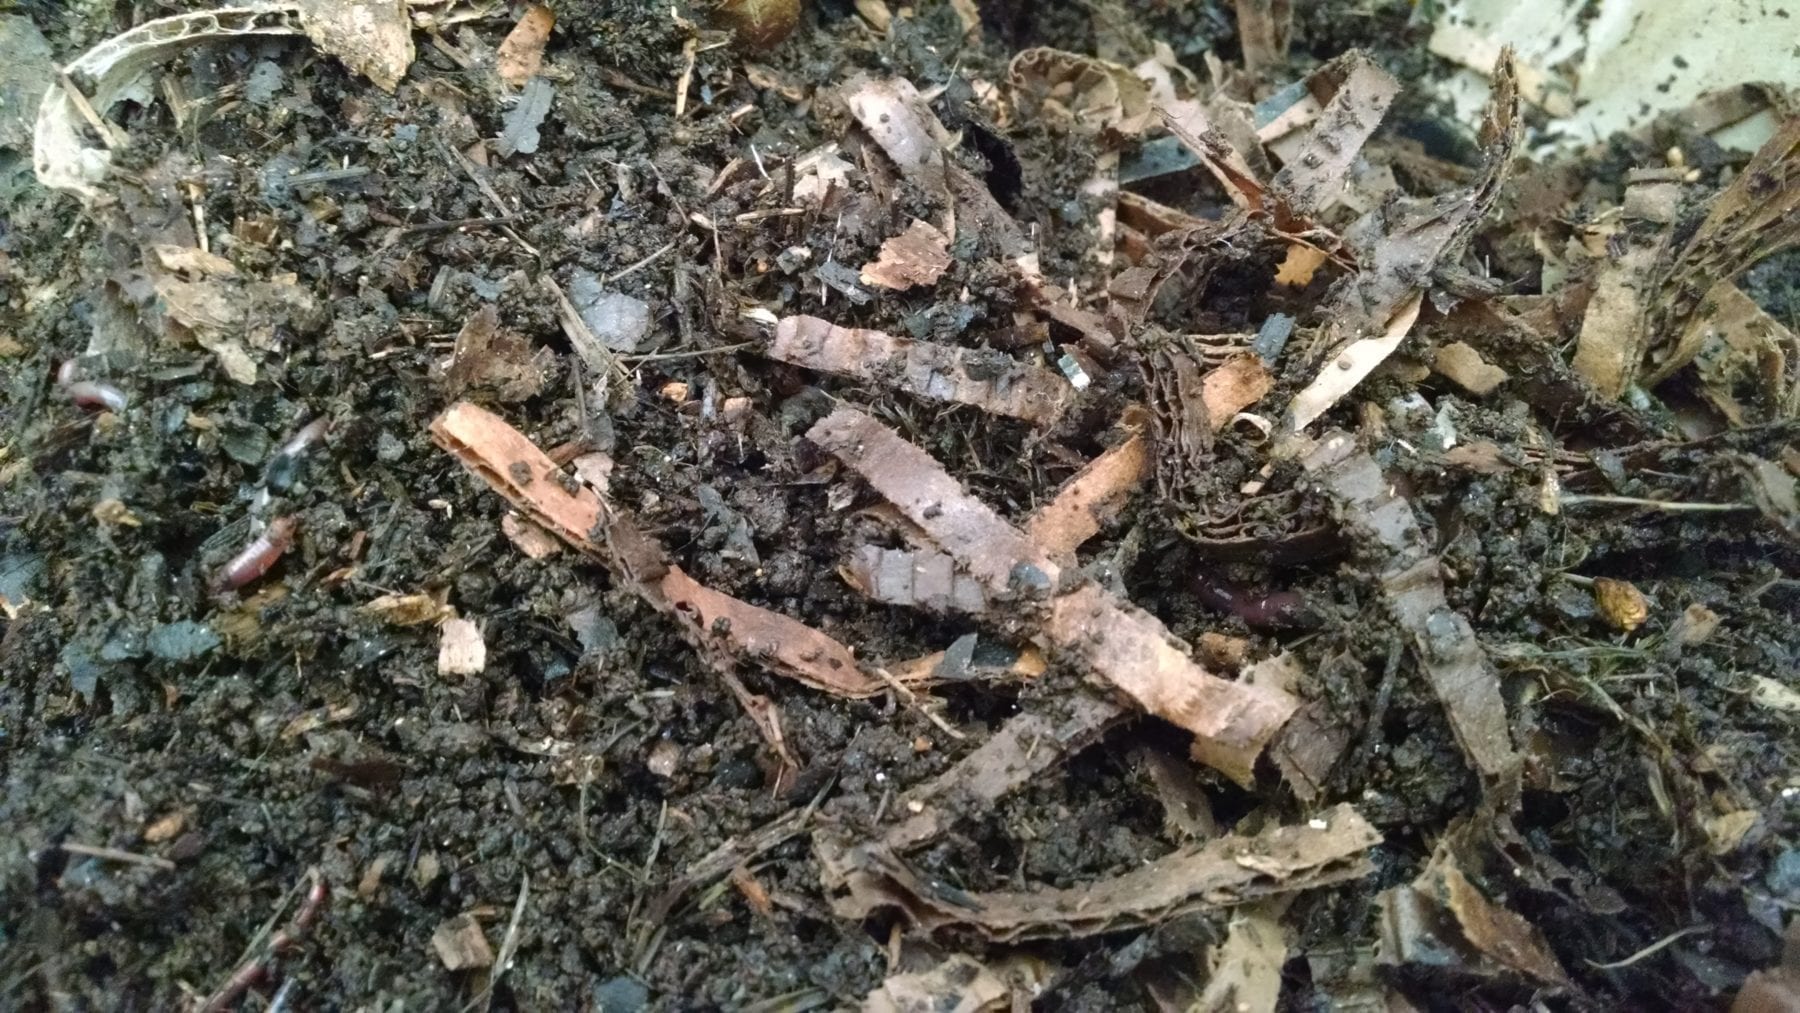 I reached in and flipped to see what the moisture was and WOW this bag maintains great moisture. I settled the material back down. I also checked to see if I had more worms and it appeared that a lot of the cocoons had hatched.