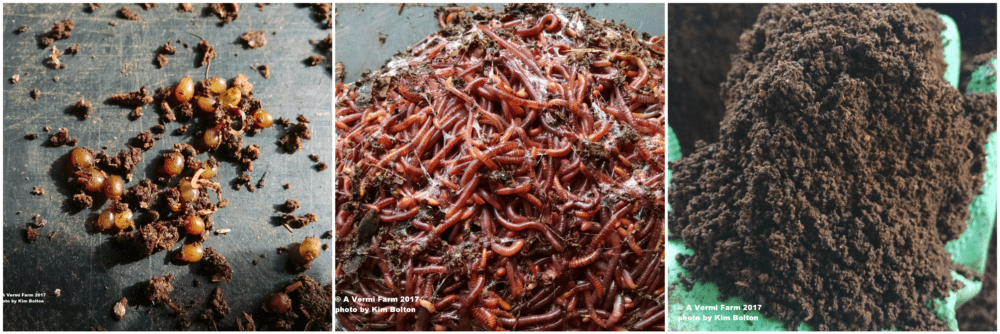
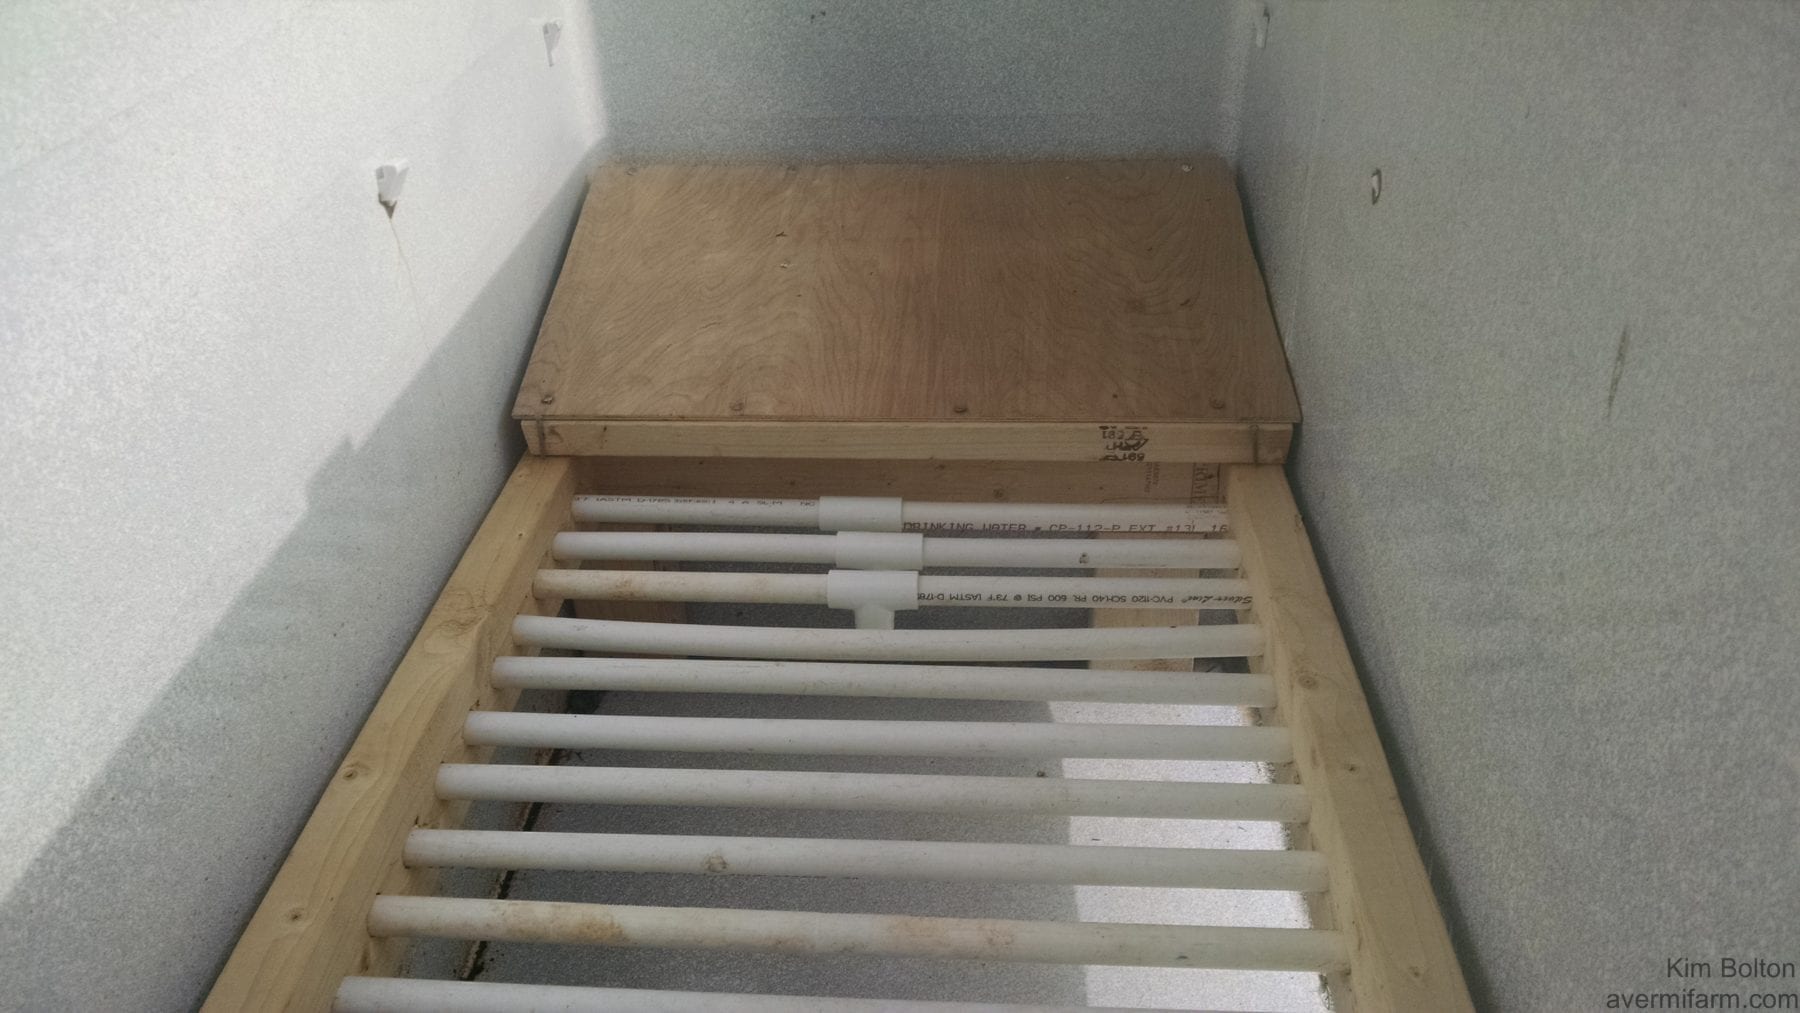
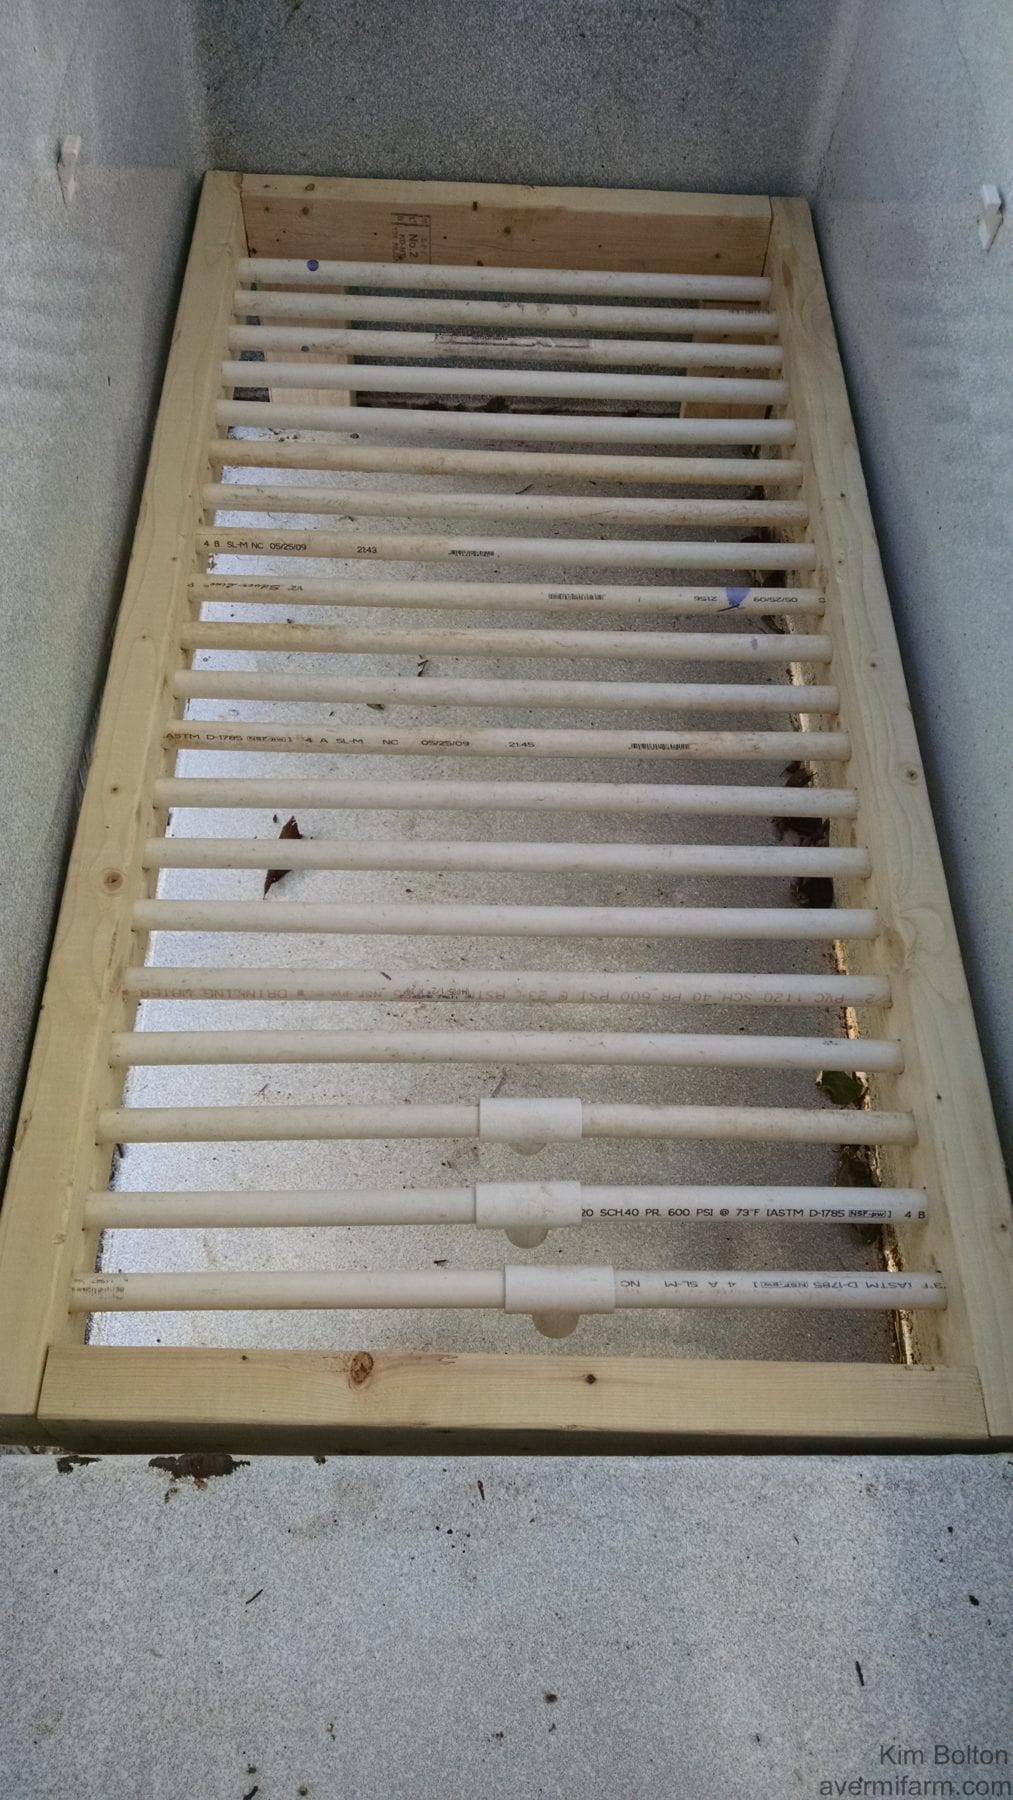
All through the winter (2015/2016) I have been trying to increase the number of African Nightcrawlers (ANC’s) I have. On a side note I do like the way these worms consume and convert food and bedding into castings really fast. These guys are huge and hungry!
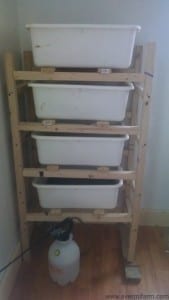
By using these bus pans and with a rotational schedule I have managed to breed some more ANC’s (maybe not enough to sell all spring and summer, but definitely a good start).
Now granted when you do a breeding program like this it is very detailed and precise. A calendar does come in handy and being able to prepare ahead of time. This winter has had some very cold temps and it has slowed me down on when I can get prepared for the harvesting. This is where having the big trommel comes in handy. 
On the weekends it is warm enough I use this to sift well aged horse manure as one of the components in my breeding trays. This is then stored in 5 gallon buckets until I need it. Because of the cold weather I have to sift at best 3 to 4 cart fulls in order to have at least 4 to 5 buckets ready for this type of breeding program that I am using.
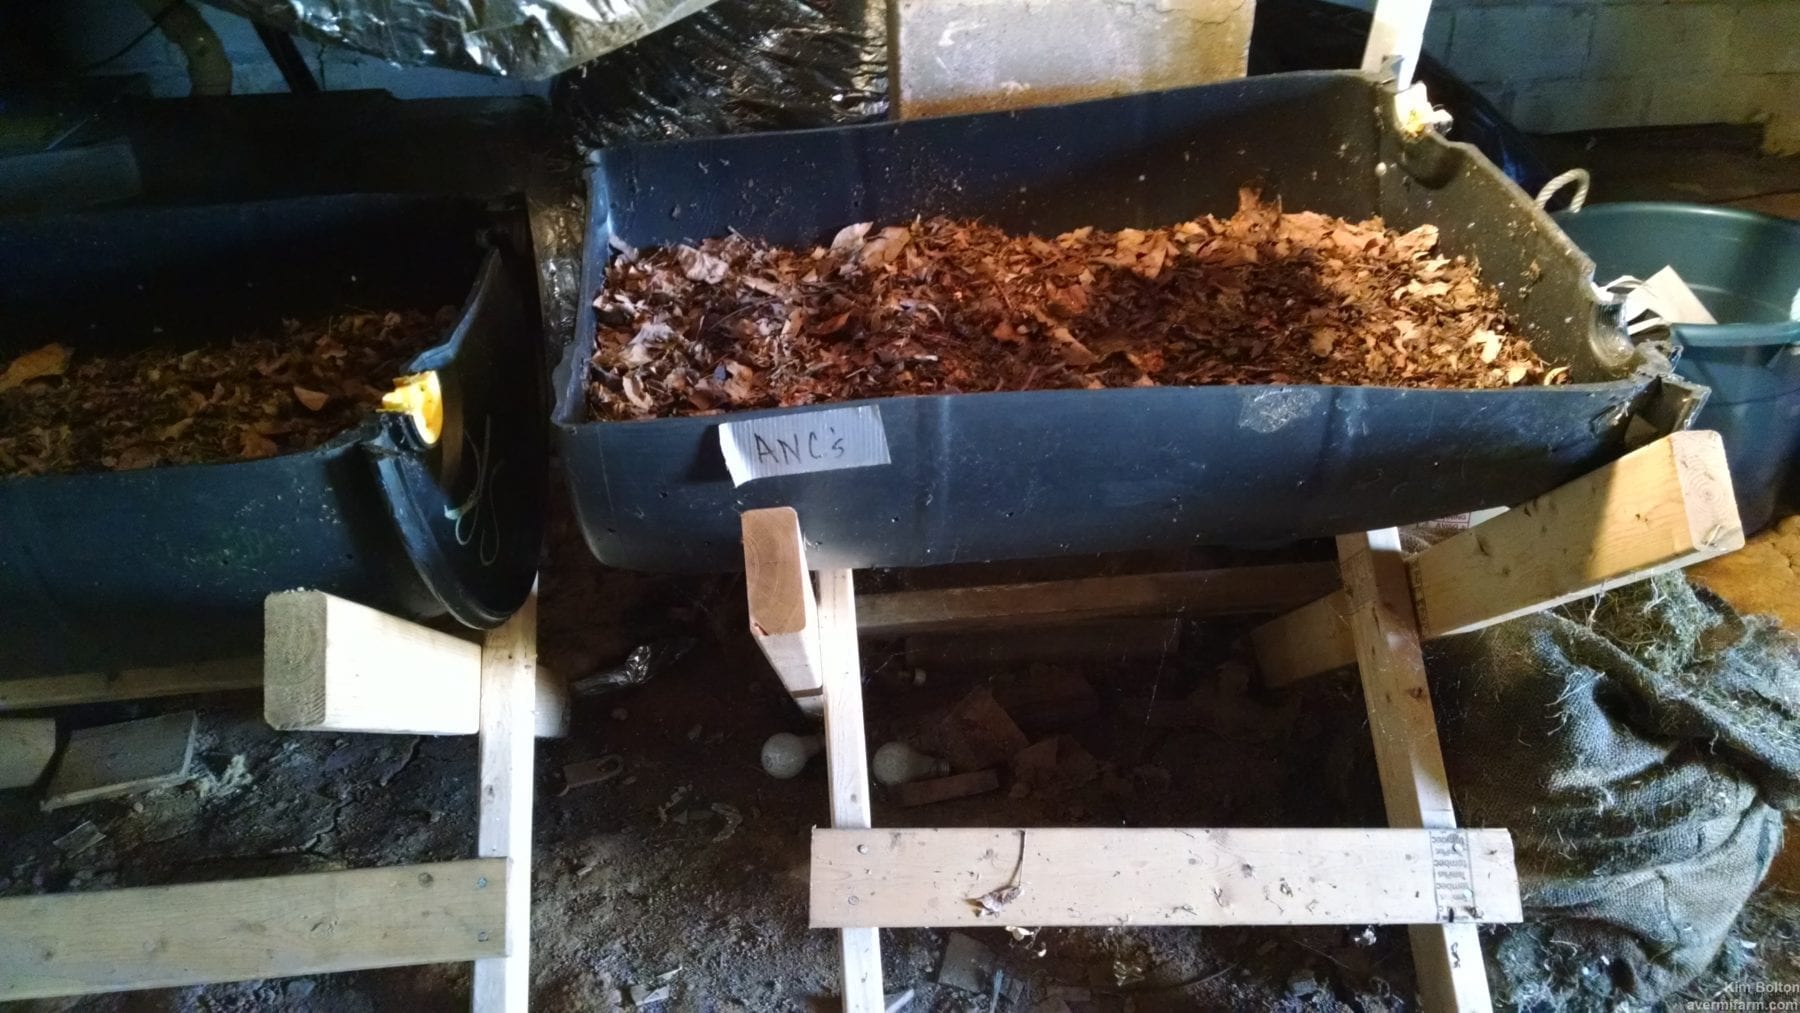
After a specific time frame the adults are picked out and the rest of the material is dumped into what I call a “nursery bin”. The adults are reset into fresh components and the time frame is started over.
In the nursery bin there is fresh bedding and food added in order to entice the cocoons to hatch.
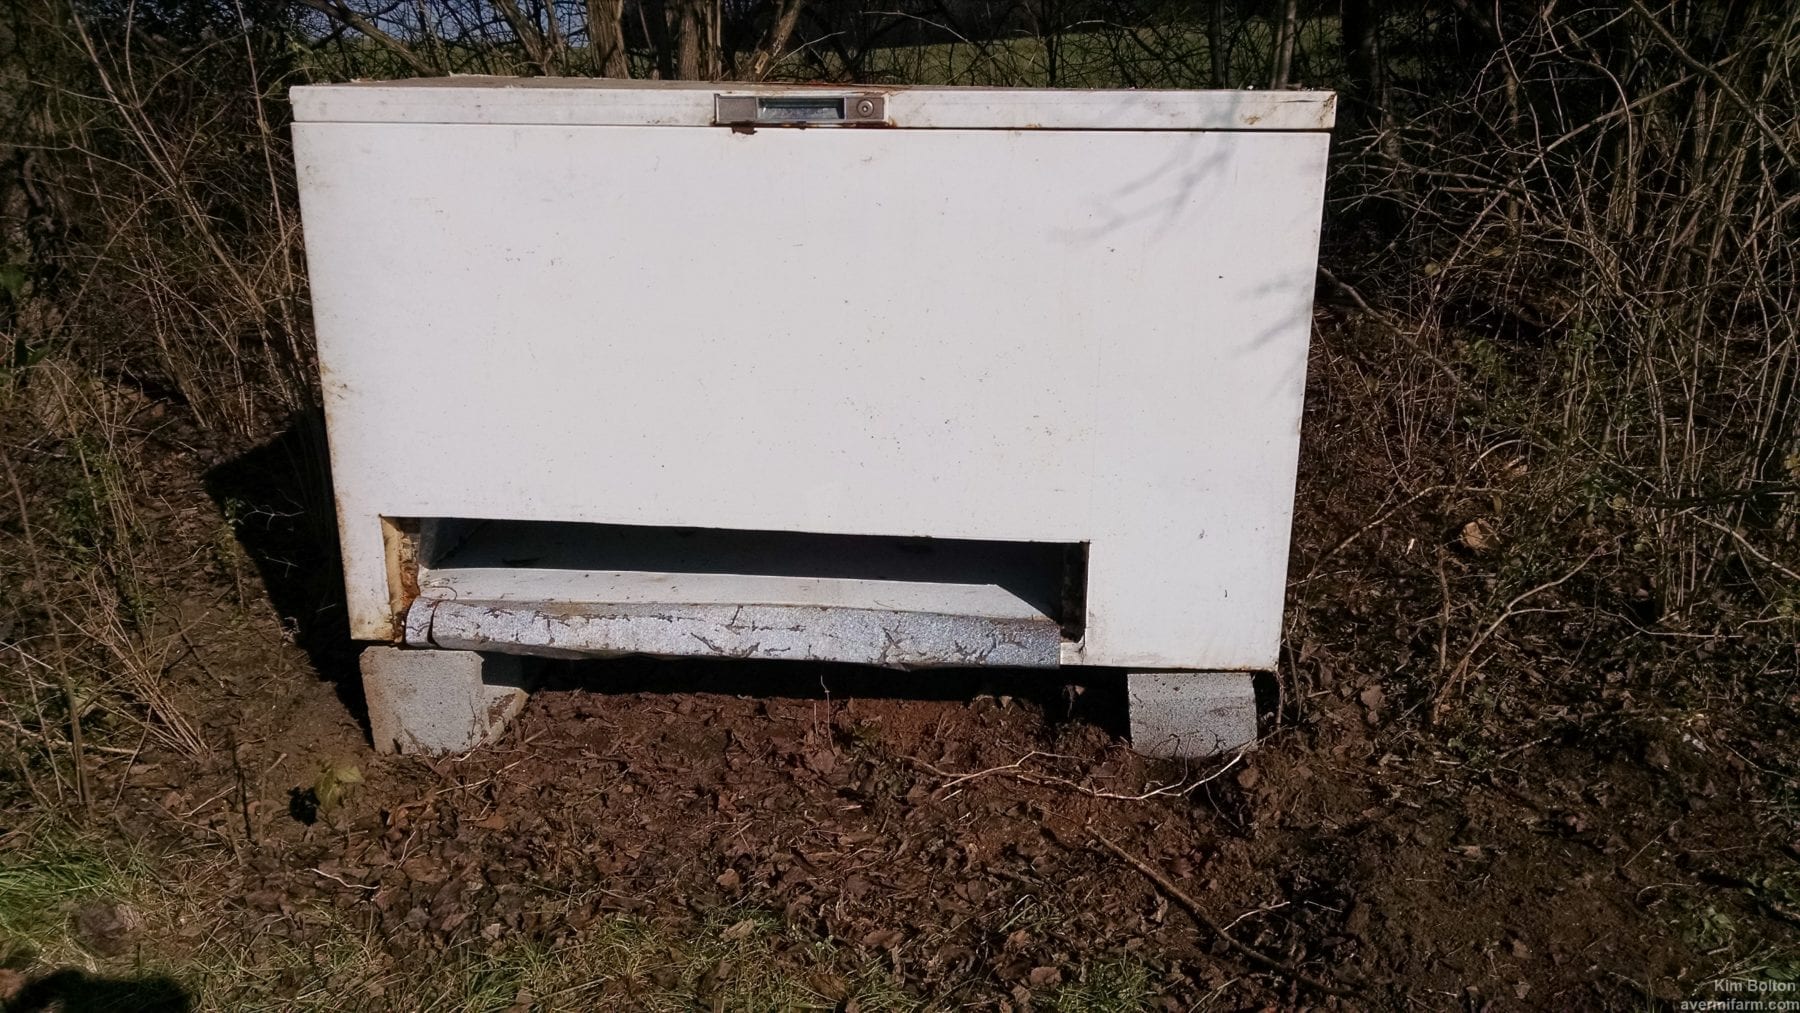
I use the split half barrels like these as a nursery.
I started out trying peat moss as the biggest component in the trays, but I didn’t comprehend about PH levels and European Nightcrawlers (ENC’s) so I managed to kill all 2 lbs that I ordered. I had ANC’s on hand and not enough “worm fund” money left over to order new ENC’s so this is why I am trying to breed ANC’s.
Now I need to definitely point out that you do not have to go to these extreme’s to increase your herd of worms. Breeding programs like this “jumpstart” you in having enough worms to be able to hopefully sell.
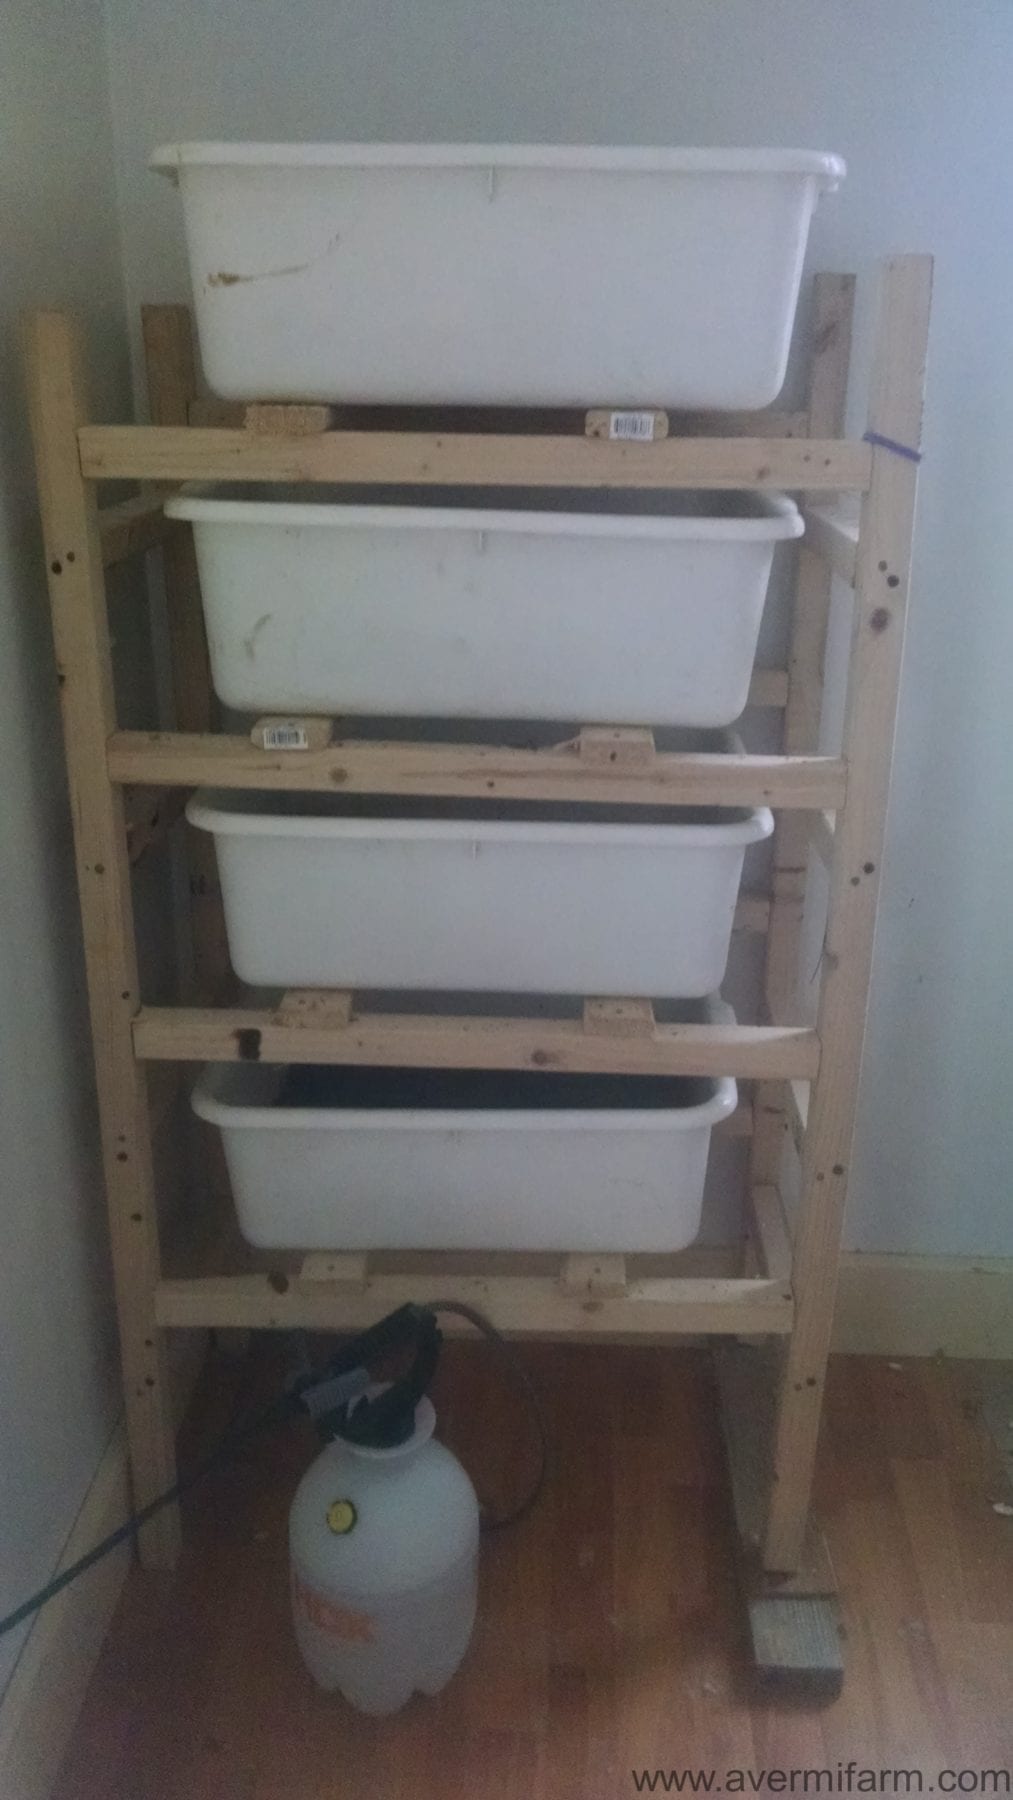
The easiest way to increase is simply by splitting bins every 3 months.
Start a bin, mark your calendar for 3 months. When the 3 month mark gets close make sure you have ample bedding (shredded cardboard and/or newspaper. Place half the bedding food in a new bin then take half of the contents of the original bin and mix well. Don’t forget to add some food and some grit (crushed eggshells, fine sand, etc.) for them as well. Do the same for the original bin. Voila! Do again in 3 months and you will have a “bunch” of worms.
I ordered ANC’s from a supplier and that order was mostly blue worms (newbie at worm farming and had no clue about the differences at that time, boy have I learned a lot….LOL) Anyway, I took that 2 lbs (ordered in October 2014, babied them through that winter, thinking they were ANC’s) in the spring/summer of 2015 I regularly split bins every 3 months by doing the above method. I discovered I was raising Indian Blues quite by mistake and decided I didn’t want those through the winter as I really wanted ANC’s. So in October I harvested out all of the blues and kept the castings and essentially gave away 2 lbs each to three people who are members of the closed Facebook group (Blue Worm Composting) https://www.facebook.com/groups/633512553461827/ I did take 2 pounds and dumped them into a outdoor compost pile as I wanted to see if they would survive the east Tennessee wild winter.
So to recap: I started with 2 lbs of worms in October 2014 in October 2015 I had 8 lbs of worms. I know, mind boggling to say the least. This was with blue worms, so I think I will try this approach with ANC’s or ENC’s this summer.
So you can tell me: Is it worth breeding worms? I like that I can have control over the breeding system but I dislike have to reset adults every so often. Also, you can definitely run out of “nursery bins” if you do the shortcut method like I do. I simply do not have time to “pick out” individual cocoons and ANC’s cocoons are described as “very sticky” as in they stick to your bedding material and they are hard to see also.
My methods are based on information I learned from being a paid member of the Worm Farming Alliance you can find more information here by being a member http://www.wormfarmingalliance.com/ (Please don’t email me asking for specific’s on this program, this is information is only available for members of the alliance).
So in closing, whichever method you choose to try, have fun and enjoy worm farming or vermicomposting!